Build a $150 Dry Creek Bed to Solve Yard Puddles
Proper water management is the difference between a functional landscape and a structural disaster. Most homeowners think a puddle in the yard is just a nuisance for the lawn mower, but as a hardscape foreman, I see it as a warning sign. Standing water is the primary cause of hydrostatic pressure buildup against foundation walls and the number one reason patios settle and crack within three years. Building a dry creek bed for roughly $150 isn’t about aesthetics; it is about civil engineering on a residential scale.
The Critical Failure of Surface Drainage
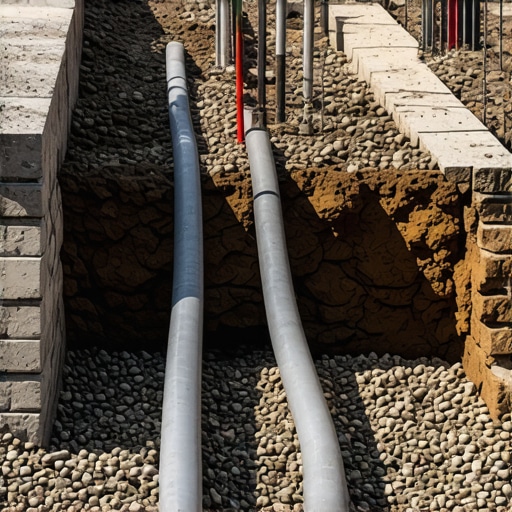
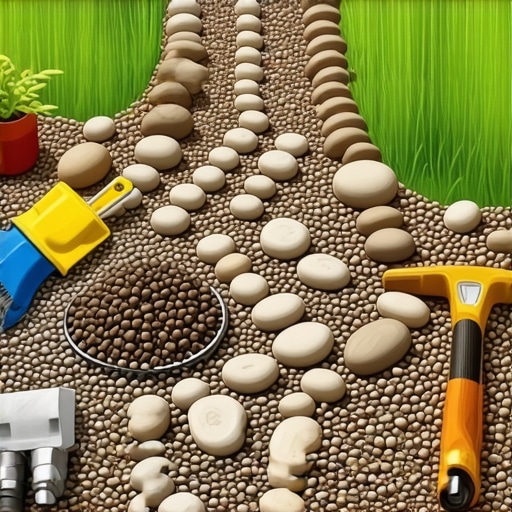
A dry creek bed solves yard puddles by acting as a controlled conveyance system that uses gravity to move surface runoff through a lined trench filled with graded stone, preventing soil erosion and structural saturation. By following the natural topography of the land, you redirect water from high-pressure zones to safe discharge points or rain gardens.
I recently got called out to tear up a $30,000 patio that was sinking because the previous contractor ignored a 2-degree slope heading straight for the foundation. They thought a few extra bags of leveling sand would fix it. It didn’t. The water sat there, saturated the subgrade, and turned the compacted gravel base into a slurry. We had to excavate the entire mess, install a 40-foot dry creek bed to intercept the runoff, and start from scratch. That homeowner paid $30,000 for a lesson in drainage. You can avoid that for $150 and a weekend of sweat equity.
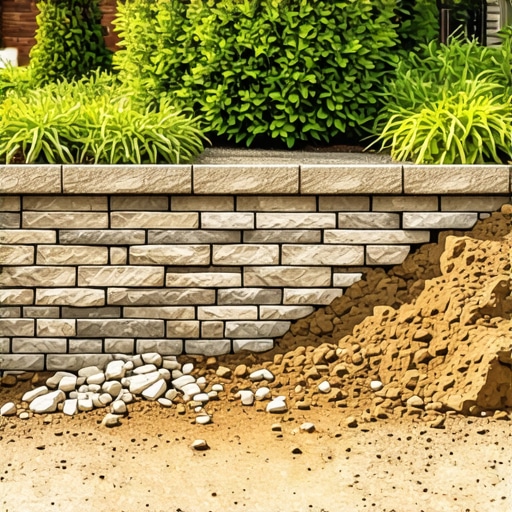
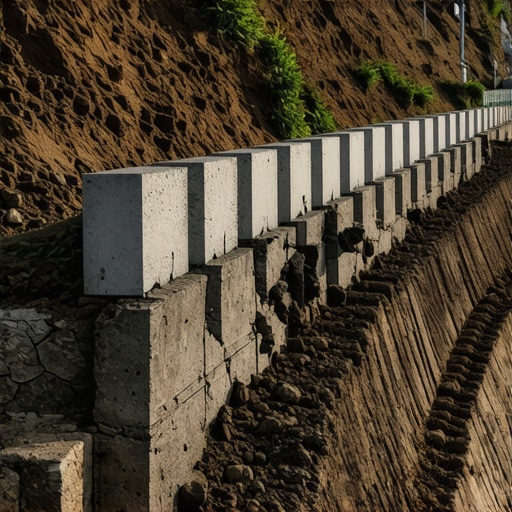
“A retaining wall doesn’t fail because of the stone; it fails because of the water trapped behind it.” – Hardscape Engineering Axiom
The Physics of the Gully: Planning Your Route
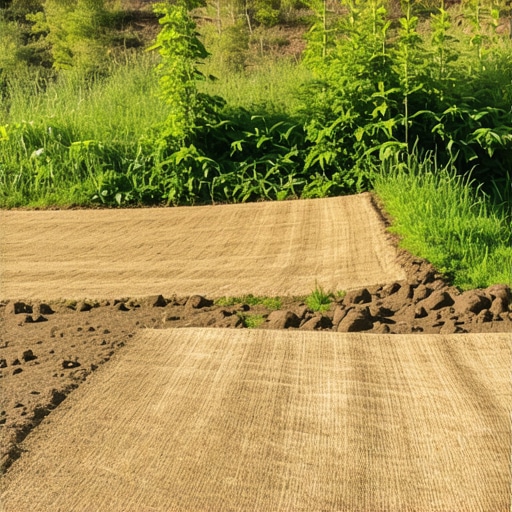
Before you touch a shovel, you need to understand where the water wants to go. Water is lazy. It follows the path of least resistance. You must identify the ‘thalweg’—the lowest point of your yard’s natural drainage swale. Use a line level or a transit to ensure you have a minimum slope of 1% (a 1-inch drop for every 8 feet of length). If you have a flat yard, you’ll need to create this pitch through excavation.
Materials Breakdown for a $150 Budget
| Material | Quantity/Type | Estimated Cost |
|---|---|---|
| Non-Woven Geotextile Fabric | 3′ x 50′ Roll (4oz) | $45.00 |
| River Rock (1″-3″) | 1.5 Tons (Bulk) | $65.00 |
| Large Boulders (6″-12″) | 5-7 Accent Stones | $25.00 |
| U-Shaped Garden Staples | 1 Pack (50 count) | $15.00 |
Notice I specified non-woven geotextile fabric. Do not buy the cheap, woven plastic weed barrier from a big-box store. It will clog. Non-woven fabric allows water to pass through the fibers while keeping the soil separated from your stone. If the soil and stone mix, the creek bed will fail. It will silt up. It will become a weed-filled mud pit within two seasons.
How Deep Should a Dry Creek Bed Be?
To handle typical residential storm runoff, your creek bed should be excavated to a depth of 8 to 12 inches in the center, tapering upward to the edges to create a ‘V’ or ‘U’ shape. This depth allows for a 2-inch layer of bedding stone and enough volume to contain a heavy downpour without overtopping the banks. A shallow creek bed is just a decorative rock pile; it won’t move water effectively.
The Installation Process: A Step-by-Step Guide
Step 1: Excavation and Grading. Mark your path with marking paint. Dig the trench. Remember the 3-to-1 ratio: the width should be roughly three times the depth. If the creek is 12 inches deep, it should be 36 inches wide at the top. This prevents the sides from collapsing under the weight of the stone.
Step 2: Soil Compaction. Use a hand tamper to firm up the bottom of the trench. You don’t want the soil to be fluffy. It needs to be a solid substrate. If you skip this, the rocks will sink into the mud during the first heavy rain. Check your pitch. No standing water.
Step 3: Laying the Geotextile. Roll out your non-woven fabric. Ensure it covers the entire bottom and sides of the trench, with at least 6 inches of overlap on the edges. Secure it with staples. This is your filtration layer. It is the most important part of the build.
“Effective drainage design must account for the peak discharge rate of the local watershed to prevent scouring of the channel bed.” – USDA Soil Conservation Service Manual
Step 4: Stone Gradation. This is where the engineering meets the eye. Start by placing your largest accent boulders along the bends. In nature, water hits a bend and drops its heaviest load. Place smaller 1-3 inch river rocks in the center ‘flow’ area. Use the 3-inch stones on the outer curves where the water velocity is highest to prevent erosion.
What Size Rocks are Best for Drainage?
A mix of 1-inch to 4-inch river stone is ideal for a residential dry creek bed because the varied sizes lock together, creating a stable ‘armor’ layer that resists displacement during high-flow events. Avoid using uniform pea gravel, as it will wash away like marbles. Angular ‘crushed’ stone provides better interlocking, but rounded river rock mimics a natural streambed better and is easier on the hands during installation.
Checklist for Success
- Call 811 before you dig to locate underground utilities.
- Maintain a minimum 1% slope toward a safe discharge area.
- Always use non-woven fabric, never woven plastic.
- Incorporate ‘check dams’ (large stones) if the slope is steep to slow water velocity.
- Discharge the water at least 10 feet away from any foundation.
The biggest mistake I see is ‘mulch volcanoes’ or plants placed directly in the path of the water. If you want to plant along the edges, use moisture-tolerant species like Blue Flag Iris or Sedge. They can handle the ‘wet feet’ when the creek is active but survive the dry spells. Avoid standard turf grass near the edges; the mower will kick stones out of the bed and ruin your blade. Use a 2-inch border of larger cobble to transition from the rock to the lawn.
Maintenance and Longevity
Every autumn, you need to blow out the leaves. If organic matter builds up between the stones, it will decompose into soil. That soil will eventually sprout weeds. A dry creek bed is low maintenance, not no maintenance. Once a year, check the discharge point for sediment buildup. Clean it out. If the water can’t get out, it will back up into your yard. It’s simple physics. Get the water out, keep the stone clean, and your yard will stay dry. Stop buying ‘quick fix’ chemicals and start moving dirt. Your foundation will thank you.
![Build a $250 Gravel Shed Base [2026 No-Slab Fix]](https://lawnmajesty.com/wp-content/uploads/2026/05/Build-a-250-Gravel-Shed-Base-2026-No-Slab-Fix.jpeg)