Build a $400 2026 Brick Walkway for Main Entries
Building a high-end entry walkway on a $400 budget in 2026 is not about cutting corners; it is about precision engineering and sourcing. Most homeowners see a walkway as a cosmetic path, but as a professional with 20 years in the dirt, I see it as a structural slab floating on a liquid-dynamic base. If you fail to account for soil mechanics and drainage, your $400 investment will be a tripping hazard within two seasons.
I recently got called out to tear up a $30,000 patio that was sinking because the previous contractor used ‘dirt’ as a base instead of a proper 2B modified stone layer. The homeowner was devastated. The pavers were top-tier, but the foundation was garbage. I told them what I tell my crew: if you don’t fix the soil grading first, every plant or stone you put in the ground is just expensive compost. For a $400 project, you cannot afford to do the work twice. You have to get the compaction and the pitch right the first time.
The Engineering Logic of a Budget Walkway
Building a durable brick walkway for $400 requires strict adherence to material sourcing and structural engineering principles. By using reclaimed pavers and a compacted aggregate base, you can achieve a professional-grade entry that resists frost heave and lateral shifting without the high cost of premium new materials.
“A retaining wall doesn’t fail because of the stone; it fails because of the water trapped behind it.” – Hardscape Engineering Axiom
The same logic applies to your walkway. Water is the enemy. When water gets trapped under your bricks, it freezes, expands, and heaves the surface. To prevent this on a budget, you must focus your funds on the invisible parts of the project: the gravel and the sand. A 10-foot by 3-foot walkway is 30 square feet. At a 2026 price point, new high-end pavers will eat your entire budget. Look for reclaimed clay bricks. They have better character and, if they survived 50 years in another driveway, they will survive 50 years in yours. Check for the ASTM C902 standard if you are buying new, which ensures the brick can handle pedestrian traffic and weather cycles.
| Material Item | Quantity (30 sq ft) | Estimated Cost (2026) | Purpose |
|---|---|---|---|
| 2B Modified Stone | 0.75 Cubic Yards | $65 | Structural Base |
| Limestone Screenings/Sand | 0.25 Cubic Yards | $40 | Screed Bed |
| Reclaimed Clay Bricks | 150 Units | $225 | Wear Layer |
| Polymeric Sand | 1 Bag | $35 | Joint Stabilization |
| Edge Restraints | 20 Linear Feet | $35 | Lateral Support |
[IMAGE_PLACEHOLDER]
The Structural Foundation and Soil Mechanics
A resilient hardscape relies on a non-frost-susceptible base typically consisting of 4 to 6 inches of compacted 2B modified stone. This layer dissipates hydrostatic pressure and provides the structural integrity needed to prevent the walkway from settling under foot traffic or environmental stress.
You must excavate at least 8 inches deep. The first 4 inches are for your modified stone. Do not use pea gravel. Pea gravel is round; it acts like ball bearings and will never compact. You need angular stone that locks together. Rent a power tamper. Hand tamping is a myth for anyone wanting a professional result. The tamper should literally bounce off the compacted base. If it still feels soft, keep going. You are looking for a 98% Proctor density. This is the difference between a walkway that stays flat and one that looks like a roller coaster after one winter.
How much modified gravel do I need for a patio base?
For a standard walkway or patio, you need enough modified gravel to create a 4-inch compacted lift. Calculate this by multiplying your square footage by the depth in feet (0.33) and then dividing by 27 to get cubic yards. Always add 10% for compaction loss. For a $400 project, precise ordering prevents wasted cash on overages.
What is the best brick pattern for a heavy-traffic walkway?
The herringbone pattern is the gold standard for structural interlocking because it distributes lateral loads across 45-degree angles. This prevents the bricks from shifting forward or backward under the weight of foot traffic. For a main entry, a running bond is easier to lay but offers less structural resistance to shifting over time.
“Base compaction is the single most critical factor in the longevity of a segmental pavement system.” – Interlocking Concrete Pavement Institute (ICPI)
Once your stone base is set and pitched away from the house at a 2% grade (that is a 1/4 inch drop for every foot of width), you lay your screed pipes. Use 1-inch PVC pipes as guides and pull a straight board across the sand. Do not walk on the sand once it is leveled. This is your bedding layer. The bricks go directly on top. If you have a low spot, do not just add sand to the top; lift the brick and add to the bedding. Precision here prevents ‘bird baths’ or puddles forming on your entry path.
The Final Seal and Maintenance
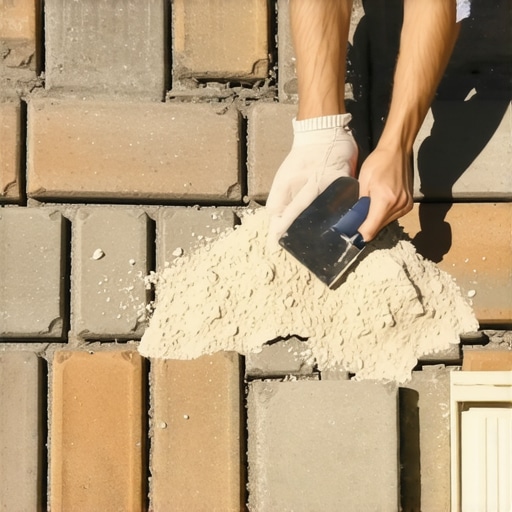
Properly sealing the joints with polymeric sand creates a semi-rigid bond that prevents weed growth and insect infestation. This step is vital for a low-maintenance entryway because it prevents water from infiltrating the bedding sand and undermining the compacted aggregate base.
- Excavate 8 inches deep and verify a 2% slope away from foundations.
- Install a non-woven geotextile fabric to separate soil from the stone base.
- Lay 4 inches of 2B modified stone in two 2-inch lifts, compacting each.
- Screed 1 inch of coarse washed sand.
- Lay bricks in a herringbone or running bond pattern, keeping joints tight.
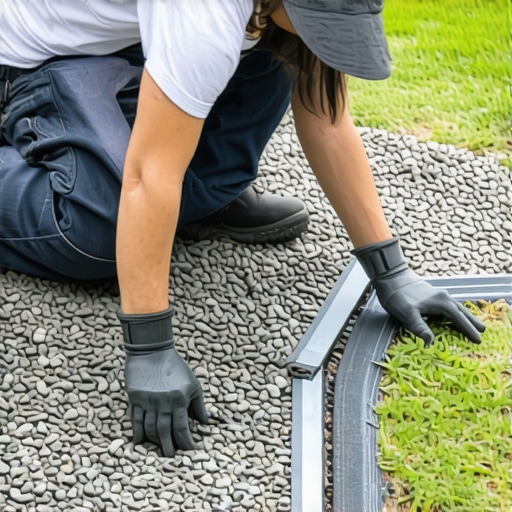
- Install plastic or metal edge restraints to prevent lateral spreading.
- Sweep polymeric sand into joints until completely full.
- Vibrate the bricks with a plate compactor (using a mat) to set them into the sand.
- Mist with water to activate the polymers.
- Wait 24 hours before heavy foot traffic.
Avoid the ‘mow-and-blow’ contractor advice of just throwing some bricks on the dirt. Dirt is organic; it moves, it rots, and it holds water. A $400 walkway built on dirt is a waste of $400. A $400 walkway built on a 4-inch compacted stone base is an asset that adds immediate curb value to your home. Keep the joints filled. If you see sand washing out in three years, top it off. It is the cheapest insurance policy you can buy for your hardscaping.
{“@context”:”https://schema.org”,”@type”:”HowTo”,”name”:”Build a $400 Brick Walkway”,”step”:[{“@type”:”HowToStep”,”text”:”Excavate the path to a depth of 8 inches and ensure a 2% slope for drainage.”},{“@type”:”HowToStep”,”text”:”Compact a 4-inch base of 2B modified stone using a power tamper.”},{“@type”:”HowToStep”,”text”:”Screed a 1-inch layer of coarse bedding sand over the stone.”},{“@type”:”HowToStep”,”text”:”Lay reclaimed bricks in the desired pattern and install edge restraints.”},{“@type”:”HowToStep”,”text”:”Fill joints with polymeric sand and mist with water to set.”}]}
![Fixing 2026 Uneven Paver Walkways [Step-by-Step]](https://lawnmajesty.com/wp-content/uploads/2026/06/Fixing-2026-Uneven-Paver-Walkways-Step-by-Step.jpeg)
![Build a $400 Flagstone Walkway in One Weekend [DIY]](https://lawnmajesty.com/wp-content/uploads/2026/06/Build-a-400-Flagstone-Walkway-in-One-Weekend-DIY.jpeg)