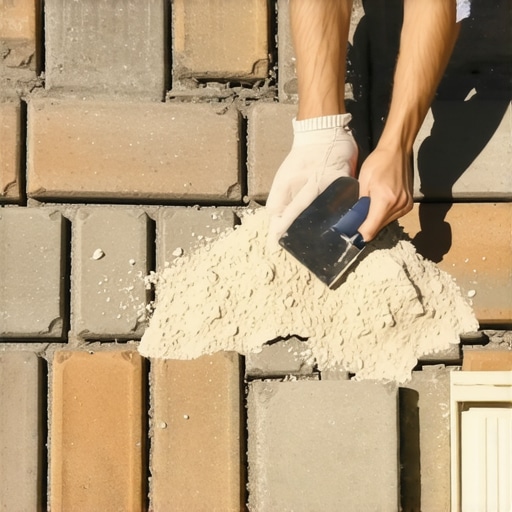
Fix Sinking Pavers: Use This $25 Leveling Sand Hack
Why Your Pavers are Sinking: The Forensic Autopsy
Sinking pavers are typically caused by subgrade failure or inadequate compaction of the aggregate base, leading to uneven settling and trip hazards. To fix this, you must address the hydrostatic pressure and void spaces within the bedding layer using stabilized masonry sand or polymeric jointing compounds.
I recently got called out to tear up a $30,000 patio that was sinking because the previous contractor used ‘play sand’ instead of an ASTM C-33 washed concrete sand for the bedding layer. The homeowners were staring at a landscape that looked like a topographical map of the Andes. The water wasn’t draining; it was pooling in the low spots, saturating the subgrade, and turning the entire foundation into a slurry. When I poked a pry bar into the joints, the sand just washed away. It was a textbook case of base-layer failure. If you don’t understand the engineering of the ground, you’re just decorating a disaster. Dirt is not just dirt. It is a structural material that requires specific moisture content and compaction levels to hold weight. Don’t let a ‘mow-and-blow’ guy tell you he can fix this with a bag of dirt from a big-box store.
“A retaining wall doesn’t fail because of the stone; it fails because of the water trapped behind it.” – Hardscape Engineering Axiom
How much modified gravel do I need for a patio base?
For a standard pedestrian walkway or patio, you need a minimum of 4 to 6 inches of compacted 21A or 3/4-inch modified gravel. For driveways, that depth must increase to 8 or 12 inches to handle the dynamic load of vehicles. You calculate this by measuring the square footage, multiplying by the depth in feet, and dividing by 27 to get your cubic yardage. Do not guess. If you are short by an inch, the whole system will flex and fail. The base is the only thing standing between your pavers and the frost heave. Get it right.
The $25 Leveling Sand Hack for Minor Settling
The $25 leveling sand hack involves using a high-quality ASTM C-144 masonry sand or a single bag of polymeric jointing sand to re-stabilize individual pavers that have shifted. This method works only if the structural base remains intact but the bedding layer has migrated due to joint washout.
Most DIYers think they need to excavate the whole yard. If you have just a few ‘clackers’ (loose pavers), you can pull them up, add a dusting of masonry sand to the bedding layer, and reset them. But here is the secret: you must use a polymeric stabilizer. For under $25, a bag of high-performance jointing sand will lock those pavers together through chemical cross-linking, preventing water from infiltrating the base again. This isn’t just ‘filling holes.’ It’s creating an impermeable surface tension. It’s science. If you use cheap play sand, the ants will move it, the rain will wash it, and you’ll be back here next year doing the same job. Spend the twenty-five bucks on the good stuff.
| Material Type | Best Use Case | Approx. Cost | Pros/Cons |
|---|---|---|---|
| ASTM C-33 Concrete Sand | Standard 1-inch bedding layer | $5 per bag | Excellent drainage, sharp edges for locking. |
| ASTM C-144 Masonry Sand | Fine leveling and joint filling | $6 per bag | Very fine, easy to work, needs stabilizer. |
| Polymeric Sand | Joint stabilization and weed prevention | $22 to $28 per bag | Hardens like mortar, flexible, prevents washout. |
| Stone Dust | Never use for bedding | $4 per bag | Traps water, causes frost heave. Avoid. |
The Step-by-Step Remediation Process
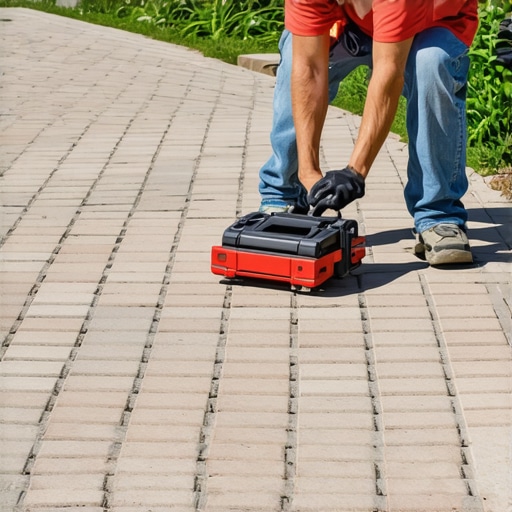
Fixing a sinking patio requires more than a shovel and a prayer. You need a dead-blow hammer and a leveling screed. First, remove the affected pavers using two flat-head screwdrivers or a paver extractor tool. Clear out the old, dead sand. Inspect the crushed stone base. If the base has a dip, add modified gravel, not sand, and tamp it until the tamper bounces off the ground. That bounce tells you that you’ve reached maximum Proctor density. Only then do you add your leveling sand hack. Screed it flat using a 1-inch pipe. Gently place the pavers back in. Do not slide them. Drop them straight down. Sweep your polymeric sand into the joints, vibrate it in, and mist it with water. Don’t soak it. If you over-water polymeric sand, you wash out the binders and leave behind a sticky mess that never cures. Follow the manufacturer’s PSI ratings. It’s written on the bag for a reason.
How do I stop pavers from shifting again?
To prevent future shifting, you must install a rigid edge restraint using heavy-duty plastic or aluminum edging secured with 10-inch steel spikes every 12 inches. Without a lateral restraint, the pavers will migrate outward, opening the joints and allowing the bedding sand to wash into the subgrade. Most hacks skip the spikes. Don’t be that guy. Use the spikes. Every. Twelve. Inches. Also, ensure your slope is at least 1/8 inch per foot away from the house foundation to manage surface runoff. Water is the enemy of hardscaping. Control the water, and you control the patio.
- Tool Checklist:
- Flat-head screwdrivers or paver puller
- Dead-blow rubber mallet
- 1-inch diameter screed pipes
- 6-foot level
- Plate compactor (rent one for large areas)
- Push broom
- Garden hose with mist nozzle
“Soil compaction is the most overlooked phase of residential construction, yet it is the primary cause of structural hardscape failure.” – ICPI Tech Spec No. 2
While the internet tells you to just pour sand in the cracks, professional hardscaping actually requires deep understanding of capillary action and soil mechanics. If you live in an area with heavy clay soil, like the red clay of Georgia, you must use a geotextile fabric between the soil and the gravel base. This prevents the stone from being swallowed by the mud. It acts as a separation layer. If you skip the fabric in clay, your $25 hack is just a temporary band-aid on a sucking chest wound. The soil will eventually eat your patio. Do the prep work. It is the only way to ensure your yard doesn’t look like a demolition site in two years. Hardscaping is 80% preparation and 20% laying stones. If you reverse those numbers, you will fail. It will rot. Don’t skip the compaction. Check your levels twice. Sweep the sand until the joints are full. That is how a pro does it. Anything less is just cutting grass. [{“@context”:”https://schema.org”,”@type”:”HowTo”,”name”:”How to Fix Sinking Pavers with Leveling Sand”,”step”:[{“@type”:”HowToStep”,”text”:”Remove the sinking pavers using a puller or screwdrivers.”},{“@type”:”HowToStep”,”text”:”Level and compact the underlying gravel base with modified stone.”},{“@type”:”HowToStep”,”text”:”Add a 1-inch layer of ASTM C-144 masonry sand and screed to level.”},{“@type”:”HowToStep”,”text”:”Reinstall pavers and fill joints with polymeric sand.”},{“@type”:”HowToStep”,”text”:”Mist with water to activate the polymeric binders.”}],”totalTime”:”PT2H”,”supply”:[“Masonry Sand”,”Polymeric Sand”,”Modified Gravel”],”tool”:[“Mallet”,”Screed Pipe”,”Level”]}]