How to Install a No-Dig Edging That Actually Stays Put
The Hard Truth About No-Dig Edging Stability
No-dig edging stays put only when you understand mechanical friction, lateral soil pressure, and the physics of the flange. Most DIY failures occur because the installer treats the product as a surface-level decoration rather than a structural boundary that must withstand hydrostatic pressure and thermal expansion. To keep it anchored, you must create a level, compacted surface for the L-shaped base to sit on, ensuring that the weight of the mulch or stone acts as a continuous downward force.
I always drill into my new crew members: if you don’t fix the soil grading first, every plant you put in the ground is just expensive compost. I saw this play out last year on a residential site in a heavy clay zone. The homeowner had bought three hundred feet of professional-grade HDPE edging but just slapped it on top of unlevel turf. Within one freeze-thaw cycle, the ground heaved, the plastic buckled, and their mower deck eventually caught a loose section, shredding it into black confetti. We had to strip the entire perimeter, scalp the grass down to the crown, and use a plate compactor to create a stable shelf. No-dig doesn’t mean no-prep. It means you aren’t trenching, but you are still engineering a foundation. If the soil underneath is soft, those spikes have zero pull-out resistance. You are basically pinning your edging into soup.
The Physics of the L-Flange and Soil Compaction
The stability of a no-dig system depends entirely on the horizontal flange being pinned into undisturbed or compacted subgrade. This flange creates a 90-degree angle that uses the weight of the landscape material to hold the vertical wall in place. Without this downward pressure, the spikes are the only thing fighting against the lateral push of the soil. Ground movement is inevitable. You need to account for it by using spiral-grooved spikes that grip the soil particles like a screw rather than a smooth nail.
“A retaining wall doesn’t fail because of the stone; it fails because of the water trapped behind it.” – Hardscape Engineering Axiom
While we aren’t building a six-foot wall, the principle remains the same. Water pooling against your edging will lubricate the soil and cause the spikes to back out. This is why site prep is non-negotiable. You must clear a path that is wider than the edging base. Use a flat-head shovel to scrape away grass and roots until you hit firm soil. If you are working in sandy loam, you might need longer spikes, perhaps 10 to 12 inches, to find enough friction. In heavy clay, an 8-inch spike is usually sufficient, but you must be careful not to bend the flange if the ground is too hard. Pre-drilling or wetting the clay slightly can help, but never install on saturated ground. It will rot. Or rather, it will shift as soon as it dries.
Material Science: HDPE vs. Aluminum Edging
Choosing the right material for your no-dig project depends on your USDA Hardiness Zone and the expected UV exposure. High-Density Polyethylene (HDPE) is excellent for curves but has a high coefficient of thermal expansion, meaning it will grow and shrink with the temperature. Aluminum is more rigid and offers a cleaner line for modern hardscaping but can be more expensive. Metal doesn’t creep like plastic does, but it requires precise leveling because it won’t hide dips in the terrain. Use the following table to compare your options based on technical specs.
| Material Type | Tensile Strength | UV Resistance | Best Soil Type |
|---|---|---|---|
| HDPE Plastic | Moderate | High (if treated) | Clay/Loam |
| Aluminum | High | Excellent | Stone/Sand |
| Recycled Rubber | Low | Moderate | Soft Soils |
| Galvanized Steel | Extreme | High | All (Corrosive) |
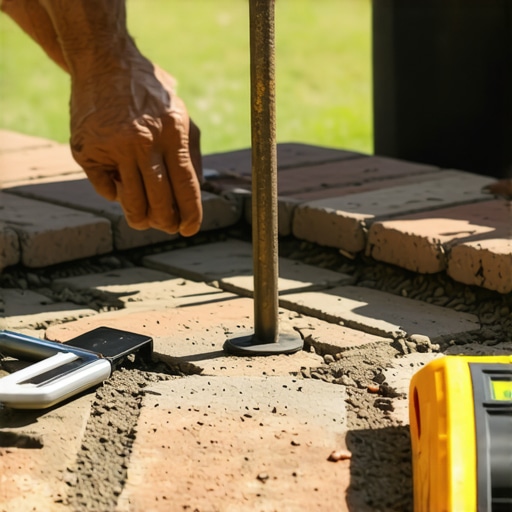
How deep do no-dig edging spikes need to go?
For standard residential garden beds, anchoring spikes should reach a depth of 8 to 10 inches to bypass the loose organic layer of the soil. Driving spikes into the denser subsoil ensures that the edging remains vertical when the top layer of soil becomes saturated or undergoes frost heave during winter months.
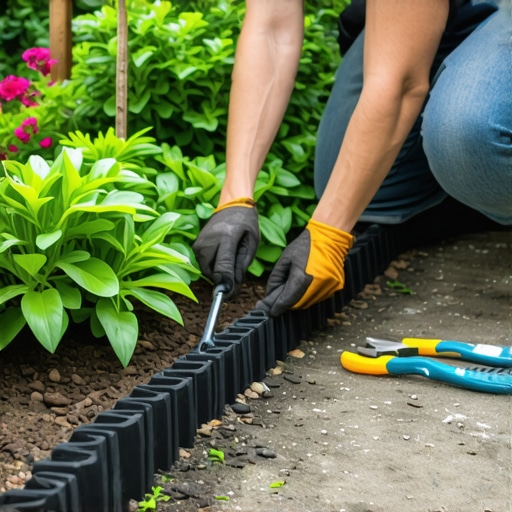
The Professional Installation Protocol
Follow this checklist to ensure your installation doesn’t become a maintenance nightmare. Don’t skip the compaction step. A soft base is the primary cause of “edging creep” where the material begins to lean into the lawn.
- Clear a 4-inch wide path along the bed edge using a square-nosed spade.
- Compact the cleared path using a hand tamper until the soil doesn’t yield under foot pressure.
- Lay the edging with the flange facing the garden bed, not the lawn.
- Place one spike every 12 inches, or every 4 inches on tight curves.
- Drive spikes at a slight 10-degree angle toward the bed to increase pull-out resistance.
- Backfill the flange immediately with at least 2 inches of mulch or crushed stone.
“Effective edging serves as a root barrier and a structural boundary, requiring materials that resist the corrosive nature of soil chemistry.” – American Society of Agronomy Handbook
Will no-dig edging survive a freeze-thaw cycle?
No-dig edging will survive a freeze-thaw cycle only if the flange is fully weighed down and the spikes are driven into the sub-grade. In regions with deep frost lines, use heavy-duty nylon or steel spikes and ensure the edging is not installed too tightly, allowing for slight thermal expansion without buckling the line.
Managing Thermal Expansion and Contraction
I have seen miles of plastic edging look like a snake after one summer. This happens because the installer didn’t leave room for the material to breathe. Plastic expands when it gets hot. If you pin it too tightly at the joints, it has nowhere to go but up or out. When you are connecting sections, leave a 1/8-inch gap at the couplers. This small margin allows the material to expand without putting stress on the spikes. If you are using metal edging, this is less of a concern, but you still need to ensure the overlapping joints are secure. Use a hammer to firmly seat the sections together, but don’t deform the track. If you deform the track, the next section won’t slide in, and you’ll end up with a visible bump in your line. Perfection in landscaping is about the details no one sees until they fail.
Long-Term Maintenance and Drainage Considerations
Once your edging is in, your job isn’t done. You need to monitor the drainage patterns. If you notice water pooling on the lawn side of the edging, you have created a dam. This will eventually undermine the base and cause the edging to collapse. You may need to incorporate small weep holes or adjust the grade of the lawn to ensure water moves past the barrier. Check your spikes every spring. If the ground has moved, you might see a spike head standing a half-inch proud of the flange. Tap it back down immediately. If it keeps coming up, you may need to replace that spike with a longer, 12-inch galvanized steel version to reach deeper, more stable soil layers. Don’t wait. A loose spike is a mower blade’s best friend. Keep the weight on the flange consistent. If your mulch washes away, replace it. The weight of that mulch is half of the engineering that keeps the edging in place. Landscaping is a game of gravity and friction. Use them both to your advantage.
![Fix Sinking Garden Steps with Poly-Sand [2026 DIY]](https://lawnmajesty.com/wp-content/uploads/2026/06/Fix-Sinking-Garden-Steps-with-Poly-Sand-2026-DIY.jpeg)