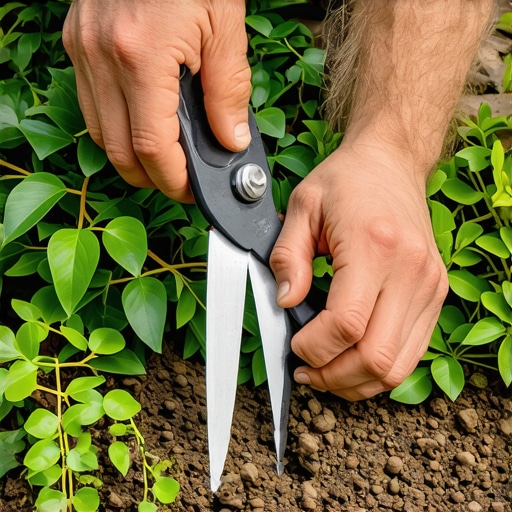
How to revive a dying boxwood hedge
Reviving Your Boxwood Hedge: A Forensic Approach to Plant Health
To revive a dying boxwood hedge, you must first identify if the primary stressor is fungal blight, root rot, or nutrient lockout. Immediate remediation involves clearing infected debris, ensuring the root flare is exposed to prevent stem rot, and applying targeted fungicides or adjusting soil pH to a range between 6.5 and 7.2. Correcting drainage is non-negotiable.
I always drill into my new crew members: if you don’t fix the soil grading first, every plant you put in the ground is just expensive compost. Last season, I was called to a property where twenty-year-old English Boxwoods were turning a sickly copper color. The homeowner had spent thousands on fertilizers, but the real culprit was a new irrigation zone that kept the soil saturated, effectively drowning the root system. We didn’t need chemicals; we needed a shovel and a French drain. This is the reality of horticulture: you are an engineer first and a gardener second. If the soil physics are wrong, the biology will fail every single time. Most people see a brown leaf and think ‘water’ or ‘food.’ I see a brown leaf and think ‘vascular collapse’ or ‘anaerobic soil conditions.’
Understanding the Anatomy of Boxwood Decline
A boxwood doesn’t just die; it is usually murdered by poor site conditions. The Buxus genus is notoriously sensitive to ‘wet feet.’ When soil pores remain filled with water, oxygen is displaced. Without oxygen, the roots cannot perform cellular respiration. This leads to the death of fine feeder roots, followed by the invasion of Phytophthora cinnamomi. You will see the leaves turn a light straw color before they go brittle. If you pull at a branch and the bark slips off easily, the cambium layer is dead. It is game over for that limb. [IMAGE_PLACEHOLDER]
“A retaining wall doesn’t fail because of the stone; it fails because of the water trapped behind it.” – Hardscape Engineering Axiom
How much modified gravel do I need for a patio base?
While this seems like a hardscaping question, the answer directly impacts your boxwood hedge. If your hedge is adjacent to a patio, the base-layer compaction and drainage of that patio determine the soil moisture levels of your planting bed. For a standard paver patio, you need a minimum of 6 inches of modified 2A gravel, compacted in 2-inch lifts. If this drainage isn’t directed away from your hedges, the hydrostatic pressure will push water into the root zones, leading to the root rot we discussed earlier. Proper grading should always slope away from the root balls at a minimum 2 percent pitch.
| Symptom | Probable Cause | Technical Remediation |
|---|---|---|
| Orange or Bronze Leaves | Winter Burn or K-Deficiency | Anti-desiccant spray or Potassium sulfate |
| Black Cankers on Stems | Boxwood Blight | Liquid copper fungicide and sanitation |
| Yellowing Inner Foliage | Poor Airflow / Volutella | Thinning cuts and debris removal |
| Stunted Growth / Wilt | Root Girdling or Rot | Root pruning or drainage correction |
How do you treat boxwood blight at home?
Treating boxwood blight (Calonectria pseudonaviculata) requires a ruthless multi-stage protocol. First, you must remove all fallen leaves from the base of the plant, as the spores can survive in the soil for years. Use a 70 percent isopropyl alcohol solution to sanitize your shears between every single cut. Apply a protectant fungicide containing chlorothalonil or mancozeb every 7 to 14 days during warm, humid windows. If more than 50 percent of the hedge is defoliated, the most professional advice is removal and replacement with a resistant cultivar like ‘NewGen Independence.’
“Soil pH directly dictates the availability of macronutrients; even the best fertilizer is useless if the pH is outside the 6.5 to 7.2 range for Buxus species.” – Agronomy Manual for Woody Ornamentals
The Step-by-Step Restoration Checklist
- Check Planting Depth: Locate the root flare. If it is buried under 3 inches of mulch, pull it back. Mulch volcanoes kill boxwoods by trapping moisture against the trunk.
- Test Soil pH: Use a calibrated digital meter. If the pH is below 6.0, apply pelletized lime to raise it. Boxwoods hate acidic soil.
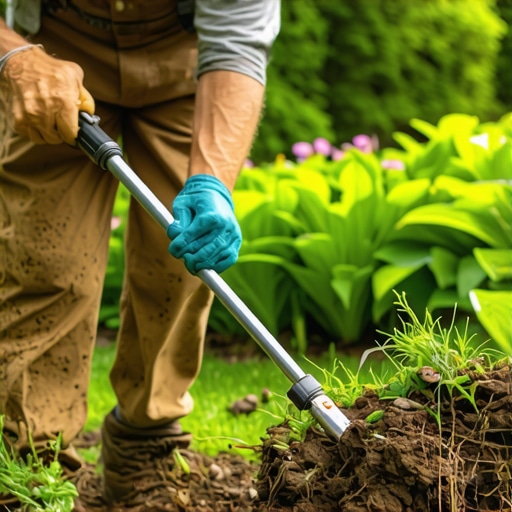
- Core Aeration: If the soil is compacted clay, use a hand-coring tool around the drip line to introduce oxygen to the rhizosphere.
- Mechanical Thinning: Remove 10 percent of the outer branches to increase light penetration and airflow to the interior of the plant.
- Irrigation Audit: Set your drip lines to run deeply but infrequently. One inch of water per week is the standard. Surface misting is for amateurs.
The microscopic reality is that your boxwood is a pump. It pulls water from the soil through the xylem and transpires it through the stomata on the leaves. When you see dieback, the pump is broken. Often, this is due to Boxwood Leafminers. These larvae live inside the leaf tissue, eating the mesophyll and disrupting photosynthesis. You can feel them by squeezing a leaf; it will feel puffy or ‘blistered.’ An application of systemic imidacloprid in early spring is the only way to stop the cycle if the infestation is heavy. Don’t wait. A boxwood has a slow growth rate. It takes years to recover what a pest can destroy in a single season. Keep your tools sharp and your soil dry. That is the secret. It is not about magic sprays; it is about engineering an environment where the plant can actually breathe.