Stop 2026 Soil Erosion on Hillsides with This $100 Fix
The Visual Anatomy of a Failing Hillside
You see the signs every spring after the frost heave subsides. There is a layer of silt on your driveway. The roots of your maples are starting to look like skeletal fingers reaching out of the dirt. Most homeowners ignore this until their foundation starts to weep or their expensive backyard turns into a mudslide. Soil erosion is not just an aesthetic problem: it is a structural threat to your property. I recently got called out to tear up a $30,000 patio that was sinking because the previous contractor failed to realize that water does not just run over the surface; it moves through the soil profile. They built a beautiful stone structure on top of uncompacted silt. Within two seasons, the hydrostatic pressure from the hillside behind it pushed the base out, and the whole thing cracked like an eggshell. It was a total loss. This is what happens when you prioritize aesthetics over engineering.
Why Your Hillside is Falling Apart: The Physics of Silt
Soil erosion on slopes happens when hydrostatic pressure and surface runoff velocity exceed the shear strength of your soil particles. Without proper interception drainage or mechanical stabilization, gravity and water will inevitably transport your topsoil into the street. The issue is usually a combination of poor soil structure and the angle of repose. If your slope is steeper than a 3:1 ratio (three feet horizontal for every one foot vertical), standard turf grass cannot hold the soil in place during a heavy downpour. You are dealing with kinetic energy. Each raindrop acts like a tiny hammer, detaching soil particles. Once they are loose, the sheet flow of water carries them downhill. In heavy clay soils, which are common in many residential developments, the water cannot penetrate the surface quickly enough, leading to massive runoff. In sandy soils, the water penetrates but washes the internal structure away from the inside out.
“A retaining wall doesn’t fail because of the stone; it fails because of the water trapped behind it.” – Hardscape Engineering Axiom
How much modified gravel do I need for a patio base?
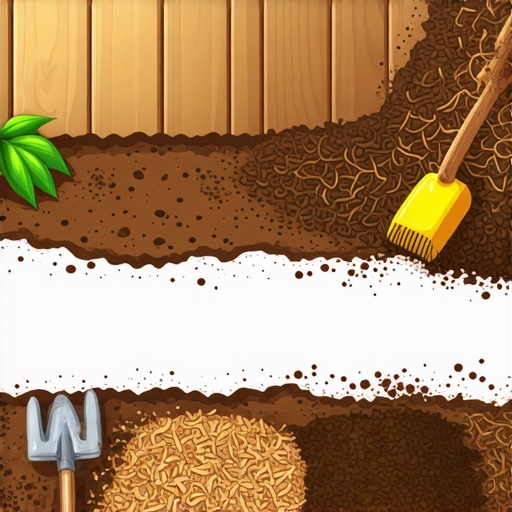
To calculate gravel needs, you must determine the square footage and multiply by the depth (usually 6 inches for patios). For a 100 square foot area, you need roughly 2 cubic yards of 2A modified gravel or CR617. Always account for a 20 percent compaction rate. If you do not compact in 2 inch lifts with a plate tamper, your base will fail within 12 months. This is non-negotiable for any hardscape project near a slope.
The $100 Solution: Professional Grade Straw Wattles
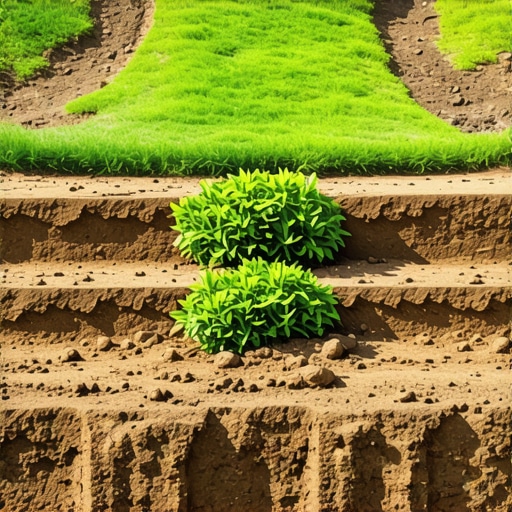
The most cost-effective fix for hillside erosion involves installing straw wattles or compost filter socks along the contour of the slope. These devices reduce water velocity, trap sediment, and allow for re-vegetation, effectively stopping runoff for less than a hundred dollars in materials. A standard 9 inch diameter straw wattle that is 25 feet long typically costs around $35. Combine that with a bundle of wooden stakes for $20 and a bag of contractor-grade conservation seed mix for $40, and you have a professional-grade erosion control system for under a hundred bucks. This is not a permanent solution on its own, but it buys you the 24 months needed for deep-rooted vegetation to establish itself. [image-placeholder]
Can I stop erosion without a retaining wall?
Yes, you can stabilize a slope without a wall by using mechanical stabilization such as wattles, geotextiles, and deep-rooted native plants. The goal is to break the slope into smaller sections to reduce the speed of water and use biological anchors to bind the soil. Heavy timber terracing or simple boulder outcroppings can also assist without the $10,000 price tag of a structural masonry wall.
“Soil erosion by water is a process of detachment and transport of soil particles by raindrop impact and runoff.” – Penn State Agricultural Extension
The Blueprint for Installation: Don’t Just Lay Them Down
The biggest mistake DIYers and cheap contractors make is just throwing wattles on top of the grass. They will float away. You must key them in. This means digging a shallow trench, about 3 to 5 inches deep, exactly where the wattle will sit. This creates a physical barrier that prevents water from running underneath the wattle. If water gets under it, the erosion will actually accelerate as the water is channeled into a high-pressure stream. You must also drive your wooden stakes every 3 to 4 feet, angling them slightly upslope. This ensures the wattle stays seated during a 2 inch rain event. Soil science is about management, not just resistance.
| Material Type | Estimated Cost | Lifespan | Best Use Case |
|---|---|---|---|
| Straw Wattles | $30 – $45 | 1 – 2 Years | Temporary stabilization while seeding |
| Coir (Coconut) Logs | $80 – $120 | 3 – 5 Years | High-velocity water areas |
| Silt Fence | $25 – $50 | 6 Months | Active construction sites only |
| Burlap Netting | $40 – $70 | 1 Year | Steep slopes with heavy seeding |
The Biological Component: Choosing the Right Anchors
Once your wattles are in place, you have created a micro-climate where plants can actually grow without being washed away. Forget the standard Kentucky Bluegrass. It has shallow roots that offer zero structural integrity. You need riparian grasses or native perennials with taproots that reach 3 to 5 feet into the earth. Look for species like Little Bluestem, Switchgrass, or creeping juniper. These plants act like living rebar. I tell my crew: if you don’t fix the soil grading first, every plant you put in the ground is just expensive compost. You need to ensure the soil pH is balanced (usually between 6.0 and 7.0) so these plants can thrive. Test your soil. A $15 test kit from the local extension office will save you $500 in dead plants. It is cheaper to do it right once than to do it wrong twice.
- Step 1: Call 811. Even for shallow trenches, you do not want to hit a fiber optic line.
- Step 2: Mark your contours with a transit or a simple line level.
- Step 3: Excavate the 4 inch deep key-in trench along the marked line.
- Step 4: Lay the wattles and overlap the ends by at least 6 inches to prevent gaps.
- Step 5: Drive stakes through the center of the wattle and into the undisturbed soil.
- Step 6: Seed the area behind the wattle with a heavy-duty erosion control mix.
Soil Engineering and Local Reality
In regions with heavy freeze-thaw cycles, like the Northeast or Midwest, you have to account for the soil expanding. This expansion can pop stakes right out of the ground. Use longer stakes (24 inches) in these climates. If you are dealing with heavy clay, you might need to incorporate some organic matter into your trench to help the new seeds establish roots quickly. Clay is notoriously low in oxygen, which can suffocate new root systems. Compaction is your enemy here. Don’t walk all over your seed bed. It will fail. Keep the soil loose enough for gas exchange but firm enough to resist the wind. Landscaping is a game of inches and precise measurements. Get it right in 2026 so you don’t have to fix it in 2027.”,”image”:{“imagePrompt”:”A detailed close-up of professional straw wattles and silt socks installed on a steep muddy hillside with wooden stakes, heavy clay soil visible, technical landscaping engineering style.”,”imageTitle”:”Professional Soil Erosion Prevention Installation”,”imageAlt”:”Straw wattles and silt socks installed on a hillside to prevent soil erosion”},”categoryId”:0,”postTime”:””}