3 Ways to Hide an Ugly AC Unit with Modern Lattice
The Engineering Reality of AC Concealment
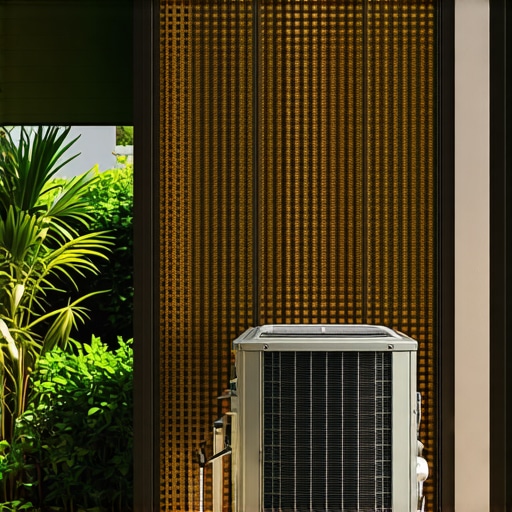
Concealing an AC unit with modern lattice requires balancing aesthetic garden design with strict mechanical clearance of 12-24 inches to ensure proper heat exchange. Ignoring the physics of airflow when installing hardscaping or planting around a condenser unit will lead to premature mechanical failure and spiked utility bills. I always drill into my new crew members: if you don’t fix the soil grading first, every plant you put in the ground is just expensive compost, and every structure you build will eventually lean or rot. This is especially true when dealing with the high-vibration environment near an HVAC system. We aren’t just hiding a box; we are building a ventilated enclosure that survives the micro-climate of your side yard. Most homeowners think they can just slap some cheap plastic lattice against the unit and call it a day. They are wrong. It will vibrate. It will trap heat. It will fail. We do things differently because we understand the mechanical requirements of the machine inside the cage.
“Proper airflow around an HVAC condenser is non-negotiable for system longevity; restricted intake leads to compressor overheating.” – HVAC Engineering Standards Manual
How much clearance is needed for an AC screen?
To maintain peak efficiency, you must provide at least 12 to 24 inches of clearance on all sides of the AC unit for intake air and 48 to 60 inches of vertical clearance. This prevents the recirculating of hot exhaust air back into the system, which forces the compressor to work harder and consumes more electricity. This is basic thermodynamics. If you choke the unit, you kill it. Period.
Method 1: Free-Standing Western Red Cedar Lattice
Western Red Cedar is the gold standard for outdoor structures because of its natural tannins that resist rot and insect infestation. When building a lattice screen, we don’t use the flimsy 1/4-inch staples found at big-box stores. Those staples rust out in two seasons. We build custom 1-inch thick frames using 4×4 posts set in 36-inch deep footings. This depth is critical to get below the frost line in northern climates or to hit stable subsoil in sandy regions. We use 3/4-inch gravel at the bottom of the post hole to allow for drainage, preventing the wood from sitting in a pool of water. The lattice itself should be a square-grid modern design, which provides better structural integrity than the traditional diamond pattern. We finish the cedar with a high-quality oil-based stain to maintain the UV protection. This isn’t just about looks; it’s about preventing the wood fibers from graying and splintering over time under the sun’s bombardment.
The Material Comparison Table
| Material | Durability (Years) | Maintenance Level | Airflow Efficiency |
|---|---|---|---|
| Western Red Cedar | 15-20 | Moderate (Staining) | High |
| Vinyl (High-Grade) | 20+ | Low (Cleaning) | Medium |
| Powder-Coated Steel | 25+ | Very Low | High |
Method 2: Integrated Hardscape Lattice with Stone Base
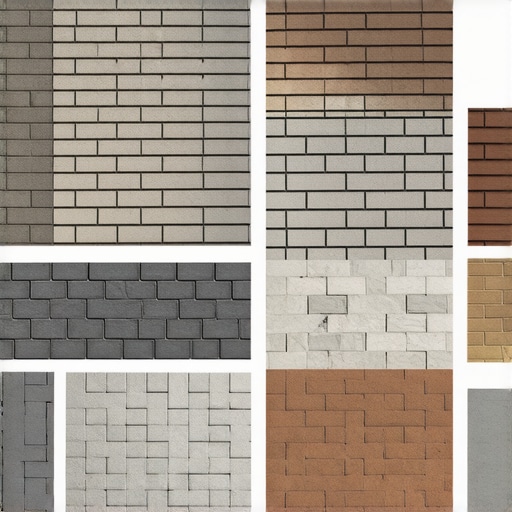
For high-end garden design, we often integrate wood lattice with a masonry base. This prevents the lattice from ever touching the soil, which is where 90% of rot begins. We start by excavating 6 inches of soil and laying a compacted base of modified gravel. We use a plate compactor to reach a density that won’t shift under hydrostatic pressure. On top of this, we build a low-profile stone plinth using natural wall stone or high-psi concrete pavers. The lattice frame is then anchored into the stone using stainless steel L-brackets. This creates a permanent, structural element that ties the AC screen into the rest of the landscaping. By lifting the wood off the ground, you also allow for easier leaf removal. If leaves pile up against the bottom of your lattice, they hold moisture, create a fungal breeding ground, and eventually rot the wood and clog the AC intake. This method is the only way to go if you have heavy clay soil that holds water like a sponge.
“A retaining wall or fixed structure doesn’t fail because of the stone; it fails because of the water trapped behind it.” – Hardscape Engineering Axiom
Method 3: The Living Lattice (Arboriculture Integration)
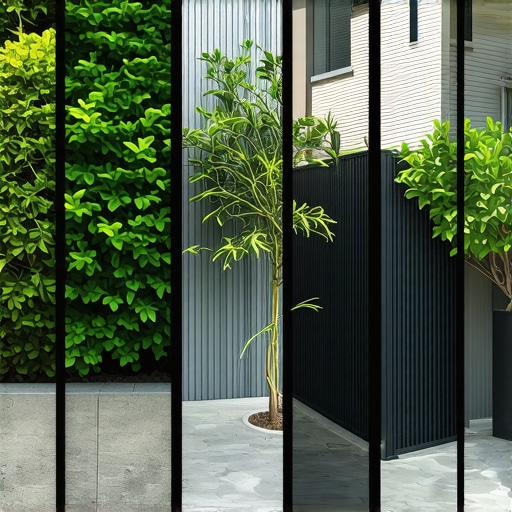
If you want the AC to truly disappear into the lawn care and garden design, use a living lattice. This is not just planting a bush. We install a heavy-duty powder-coated steel mesh and train specific species like Clematis armandii or a non-invasive climbing hydrangea. However, there is a catch. You cannot let the foliage grow into the AC fins. Those fins are delicate aluminum and can be bent by the pressure of a growing vine, or clogged by organic debris. We maintain a strict pruning schedule. The root zone is also a factor. We never plant directly against the condenser. We install the mesh 24 inches away and use a root barrier to prevent the root system from interfering with the electrical or refrigerant lines buried underground. This is applied biology. You need a plant that can handle the heat dumped by the AC unit during a July heatwave. Most people pick the wrong plant and it scorches in a week. You need tough, heat-tolerant species that can thrive in a high-thermal-gain environment.
Modern Lattice Installation Checklist
- Locate all utilities by calling 811 before digging post holes.
- Measure the unit’s height and add 6 inches for the screen height.
- Maintain a minimum of 18 inches of air gap for intake.
- Use stainless steel fasteners to prevent rust streaks.
- Ensure the structure is plumb using a 4-foot level.
- Apply a post-sleeve if the soil has high acidity or moisture levels.
Maintenance and Thermal Management
Once the lattice is up, the job isn’t done. You need to monitor the unit during the first cooling season. Check the temperature of the air being exhausted. If the air inside the enclosure feels significantly hotter than the ambient air, you have an airflow restriction. You may need to increase the spacing between your lattice slats. We use a 50/50 ratio of wood to open space. This ensures the BTU output of the machine isn’t being reflected back into the coil. For lawn care, ensure that your weed whacker never hits the base of the lattice. Mechanical damage from string trimmers is the leading cause of post failure. We often install a 4-inch wide strip of decorative river rock around the base of the screen to create a no-mow zone. It’s clean, it’s professional, and it saves the wood. Don’t be the guy who builds a beautiful screen only to have it rot because of poor drainage or get shredded by a mower. Take the time to do the site prep. It’s the difference between a project that lasts five years and one that lasts twenty-five.