Build a $150 River Rock Path for 2026 Wet Areas
Why Most Wet Area Paths Fail by Year Two
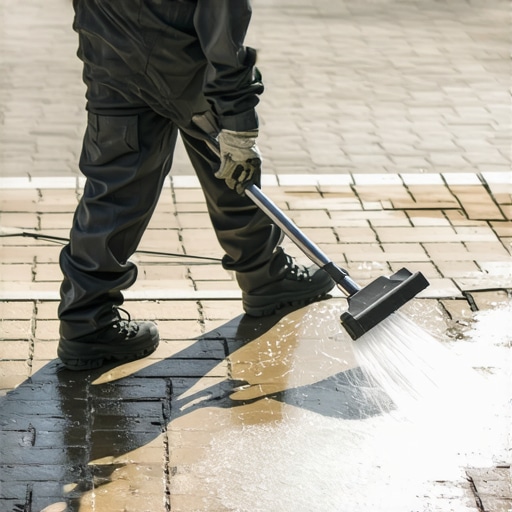
Building a successful path in a soggy yard is not about the stones you see on the surface; it is about the engineering of the subgrade and the management of hydrostatic pressure. Most DIY attempts fail because they ignore the fundamental physics of water movement in soil. I recently got called out to tear up a $30,000 patio that was sinking because the previous contractor failed to install a proper drainage chimney and used the wrong aggregate size for the local clay soil. This is a common mistake made by ‘mow-and-blow’ outfits who think a path is just a decorative ribbon. In reality, a river rock path in a wet area must function as a linear French drain that happens to look good. If you do not account for the saturation point of your soil, your $150 investment will literally sink into the earth within twelve months. We are building for 2026 and beyond, which means preparing for heavier seasonal rainfall and shifting soil bulk density.
“A retaining wall doesn’t fail because of the stone; it fails because of the water trapped behind it.” – Hardscape Engineering Axiom
The Hydrology of Your Yard
Understanding yard hydrology requires calculating the runoff coefficient and identifying low-point saturation zones where water collects. To manage 2026 wet areas, you must divert hydrostatic pressure away from foundations using a river rock swale with a minimum 2% slope. This is not just garden design; it is civil engineering on a micro-scale. You need to identify if you are dealing with capillary action in heavy clay or percolation issues in compacted silt. Clay soil has a tiny pore space, meaning water moves through it at a glacial pace. When you dig a trench for a path, you are essentially creating a bathtub. If that bathtub has no drain, the stones will eventually be swallowed by mud. We prevent this by using non-woven geotextile fabric which allows water to pass through while keeping the soil and stone layers separate.
The $150 Budget Breakdown: Bulk vs. Bags
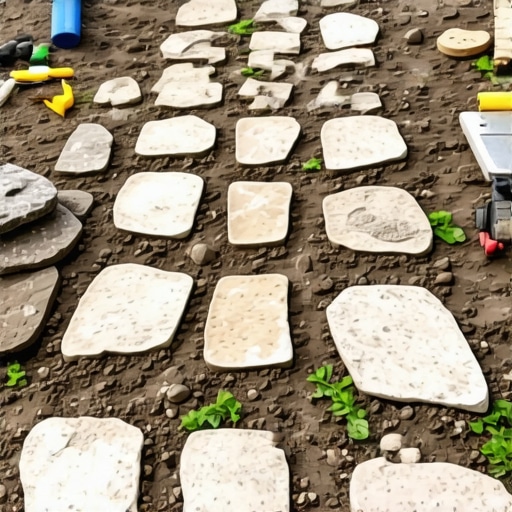
To keep this project under $150, you must bypass big-box retailers and head directly to a local landscape supply yard or quarry. Purchasing river rock in 40-pound bags is a financial disaster. One ton of river rock typically covers about 100 square feet at a 2-inch depth and costs between $40 and $70 when bought in bulk. Adding the cost of a high-quality geotextile roll and a few pressure-treated stakes, you can easily stay under your budget if you provide the sweat equity. Avoid the ‘designer’ stones sold in plastic bags; they are marked up 400% and offer no structural advantage over local river jack or creek stone. Look for stones with a specific gravity of at least 2.5 to ensure they are heavy enough to resist being washed away during a flash flood.
| Material | Quantity (for 20ft path) | Estimated Cost | Primary Function |
|---|---|---|---|
| 2-4″ River Rock | 1.5 Tons (Bulk) | $75.00 | Surface stability and drainage |
| Non-Woven Geotextile | 25′ x 4′ Roll | $35.00 | Separation and filtration |
| 1″ Clean Crushed Stone | 0.5 Ton (Bulk) | $25.00 | Levelling base layer |
| Marking Paint/Stakes | 1 set | $15.00 | Layout and grading |
Step 1: The Forensic Site Assessment
Before you touch a shovel, you must perform a percolation test. Dig a hole 12 inches deep, fill it with water, and see how long it takes to drain. If it takes more than 24 hours, you have a drainage emergency that a simple path won’t fix without a perforated pipe sub-drain. You also need to call 811. Nothing ruins a $150 project like a $5,000 repair bill for a sliced fiber-optic line. Measure the slope of your intended path. You need a drop of at least 1/4 inch per foot (2%) to ensure water moves toward a safe discharge point. Use a string line and a line level to verify this. Professional landscaping is 80% planning and 20% execution. If you skip the grading, the stones will shift every time the ground freezes and thaws.
Step 2: Excavation and Subgrade Compaction
Excavate your path to a depth of at least 4 to 6 inches. This isn’t just about making room for the rocks; it’s about removing the organic layer (grass and topsoil) which is spongy and unstable. You want to reach the mineral soil or subsoil. Once excavated, you must compact the base. I tell my crew: the tamper should literally bounce off the ground. If the ground feels soft, the path will fail. Use a hand tamper or a rented plate compactor. We are aiming for a Proctor density of 95% compaction. This prevents the ‘heaving’ that occurs during the winter freeze-thaw cycles common in 2026 weather patterns. Don’t skip the edges. The transition from the path to the lawn is where most erosion begins.
How deep should a river rock path be for drainage?
For effective drainage in wet areas, a river rock path should be excavated to a depth of 6 inches, including a 2-inch base of compacted angular stone and 3 to 4 inches of river rock. This depth allows for sufficient water storage volume during heavy rain events, preventing surface pooling and ensuring the walkway remains navigable even during peak saturation.
Step 3: Laying the Geotextile Barrier
Do not use cheap ‘weed fabric.’ It is useless for hardscaping. You need non-woven geotextile fabric, specifically a Class 2 or Class 3 weight. This material is designed for civil engineering projects to keep layers of different-sized aggregates from mixing. Lay the fabric in the trench, ensuring it climbs up the sides to the surface. This creates a ‘trough’ that holds your stone in place while allowing every drop of water to seep into the subsoil. If you don’t use fabric, your expensive river rock will eventually be pushed down into the mud by foot traffic, and the mud will rise to the surface. This is known as subgrade intrusion, and it is the primary reason why paths disappear over time.
“Soil particles are like magnets for moisture; without a physical barrier, the fine silts will always migrate into the voids of your drainage stone.” – Agronomy Field Manual 4.2
Step 4: Installing the Aggregate Layers
Start with a 1-2 inch layer of 1-inch clean crushed stone (No. 57 stone). Unlike river rock, which is rounded and ‘rolls,’ crushed stone is angular and locks together under pressure. This provides a stable foundation. On top of this, add your 2-4 inch river rock. The variety in size is crucial. Smaller stones fill the gaps between larger ones, creating a ‘locking’ effect that prevents the stones from shifting under your feet. This is called well-graded aggregate. Ensure the final height of the rock is slightly below the surrounding grade to prevent stones from being kicked into the lawn, which can damage lawnmowers and become a safety hazard. Your lawn care routine will thank you for this foresight.
What is the best material for a wet walkway?
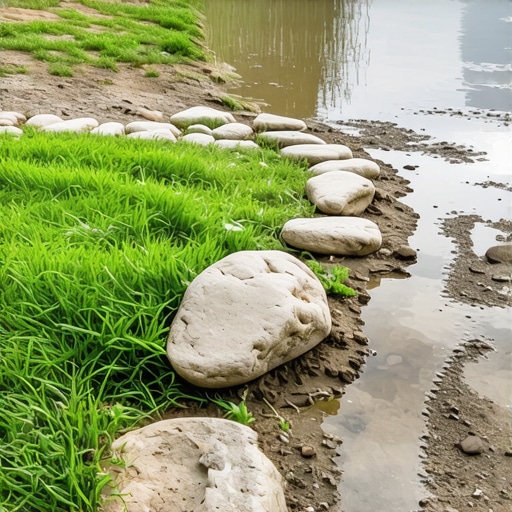
The best material for a wet walkway is river rock with a diameter of 2 to 5 inches paired with a non-woven geotextile underlayment. Large, rounded river rocks offer high permeability and resist ‘clogging’ from organic debris, while their weight ensures they stay in place during significant water flow, unlike mulch or pea gravel which can wash away.
Long-Term Maintenance: Preventing the 2027 Swamp
Even a perfectly built path needs maintenance. Organic matter (leaves, grass clippings) will eventually find its way between the rocks. If left to rot, this creates a new layer of soil on top of your fabric, which will sprout weeds. Every autumn, use a leaf blower to clear the path. Every three years, you may need to ‘refresh’ the top layer with a few new bags of stone to maintain the aesthetic. Avoid using harsh chemical weed killers; they can leach through the stone and damage the microbiology of your soil. Instead, rely on the permeability of the path to keep the surface dry, which naturally discourages most weed growth. If you see water pooling, it means your discharge point is blocked. Clear the end of the path to restore the gravity-fed flow.
2026 Landscaping Checklist for Success
- Call 811 to mark underground utility lines before digging.
- Calculate the 2% slope to ensure positive drainage away from structures.
- Source river rock from a local quarry to stay under the $150 budget.
- Use non-woven geotextile fabric, not thin landscape film.
- Compact the subgrade until it is firm and non-yielding.
- Select a mix of stone sizes (2-4 inches) for better structural stability.
- Maintain clear edges to prevent turf grass from invading the stone.