Fix Your 2026 Sinking Walkway with This Polyurethane Injection
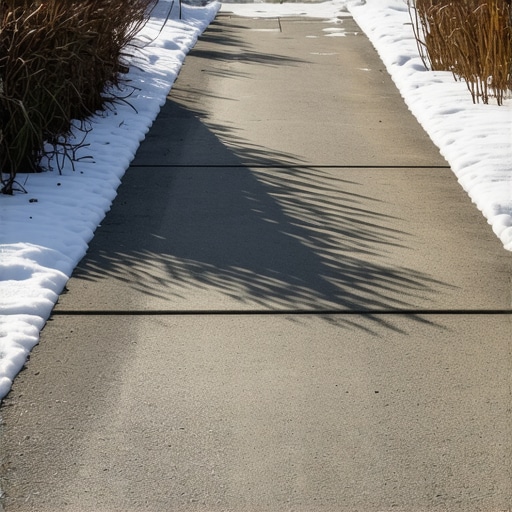
Why Your Walkway is Sinking: The Forensic Reality
A sinking walkway or patio is rarely a failure of the surface material itself; it is almost always a failure of the sub-grade preparation and hydrostatic pressure management. To fix a sinking walkway in 2026, polyurethane injection involves drilling small-diameter holes into the concrete or paver base and injecting high-density, hydrophobic resin that expands to fill voids and lift the slab back to grade. This process addresses the underlying soil instability without the need for total excavation.
I recently got called out to tear up a $30,000 patio that was sinking because the previous contractor skipped the mechanical compaction of the sub-grade. They threw down some stone screenings and called it a day. Within two seasons, the settlement was so severe that water was diverted directly toward the home’s foundation. This wasn’t a cosmetic issue; it was a structural liability. The base layer must reach a 95% Proctor density to support the load of the hardscape. When that fails, you either rip it all out or you look at geotechnical solutions like polyurethane foam. It’s the difference between a patch job and actual engineering.
“A retaining wall doesn’t fail because of the stone; it fails because of the water trapped behind it, leading to soil saturation and loss of bearing capacity.” – Hardscape Engineering Axiom
How much does polyurethane walkway repair cost?
On average, polyurethane injection costs between $10 and $25 per square foot, significantly less than the $50+ per square foot required for a full demolition and rebuild of a technical hardscape. The price fluctuates based on the volume of resin required to fill the specific voids beneath your concrete or pavers.
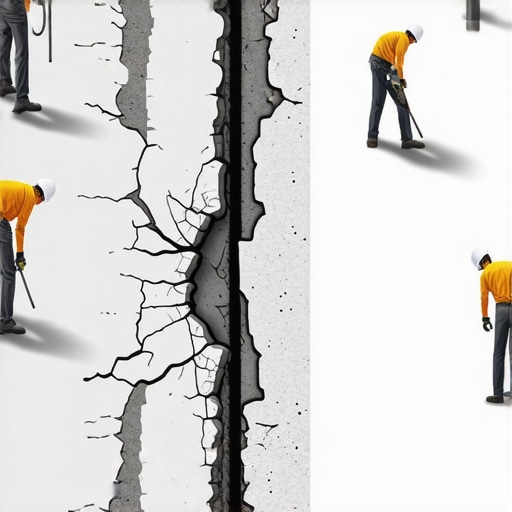
The Physics of Polyurethane Injection
Traditional mudjacking uses a heavy slurry of sand and cement. It adds massive weight to already failing soil. Polyurethane is different. It is a high-density, closed-cell foam that weighs roughly 3 to 5 pounds per cubic foot. When the two components of the resin mix, a chemical reaction occurs, causing the liquid to expand into a rigid structure. This expansion generates enough PSI (pounds per square inch) to lift massive concrete slabs while simultaneously compacting the loose soil beneath them. This is what we call ‘soil stabilization.’ It doesn’t just lift the walk; it reinforces the ground. We are talking about a material that is impervious to water. It won’t wash away in a spring thaw. It won’t rot. It stays put.
Comparison: Polyurethane vs. Traditional Mudjacking
| Feature | Polyurethane Injection | Traditional Mudjacking |
|---|---|---|
| Weight | 3-5 lbs per cubic foot | 100-120 lbs per cubic foot |
| Hole Size | 5/8 inch (small) | 2 inches (large) |
| Cure Time | 15 – 30 minutes | 24 – 48 hours |
| Durability | Hydrophobic (Waterproof) | Erosion-prone |
| Precision | High (1/10th inch) | Moderate |
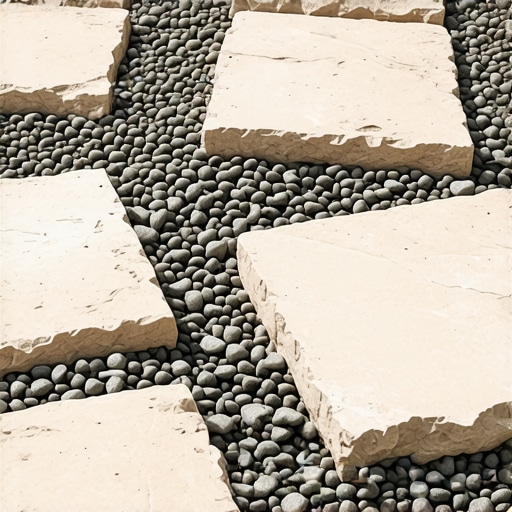
Does polyurethane injection work for pavers?
While poly-leveling is most common for solid concrete slabs, it can be used for paver walkways if the base is a reinforced concrete ‘structural’ slab or if the injection is used to stabilize the sub-soil beneath the modified gravel base. However, for standard sand-set pavers, we typically focus on stabilizing the virgin sub-soil to prevent further migration of the base materials.
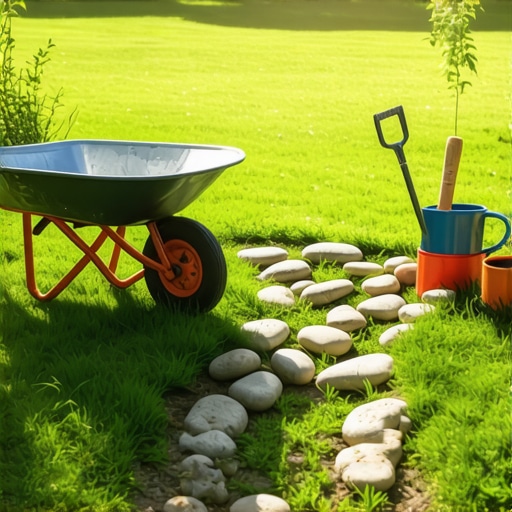
Step-by-Step Walkway Remediation Checklist
- Site Assessment: Use a laser level to determine the exact degree of settlement across the entire run.
- Void Mapping: Tap the surface with a steel rod to listen for ‘hollow’ sounds indicating air pockets.
- Drilling: Space injection holes approximately 2 to 3 feet apart in a staggered grid pattern.
- Injection: Monitor the lift in real-time. Stop as soon as the joint aligns with the stable section.
- Sealing: Patch the injection holes with a color-matched cementitious grout or polymeric sand.
- Drainage Check: Ensure the new grade directs water at least 1 inch of fall per 10 feet of run.
“Soil compaction is the most critical and most neglected phase of any hardscape installation, directly impacting the longevity of the structure against freeze-thaw cycles.” – Interlocking Concrete Pavement Institute (ICPI) Manual
Dealing with the Root Cause: Drainage and Soil Chemistry
You can inject all the foam in the world, but if your gutters are dumping 500 gallons of water at the corner of your walkway, the soil will eventually liquefy again. We see this often in areas with expansive clay soils. Clay absorbs water and swells, then shrinks when it dries, creating massive voids. In the 2026 season, we are seeing more extreme weather cycles that exacerbate this ‘accordion effect.’ You must address the hydrostatic pressure. This means installing French drains or solid-core PVC pipe to move water away from the hardscape. Don’t rely on corrugated pipe; it clogs and collapses. Use Schedule 40 PVC. It’s more expensive. It’s also permanent.
The Maintenance Schedule: Year One and Beyond
After the injection, the walkway is ready for foot traffic in minutes. But your job isn’t done. You need to monitor the seams. If you see gaps opening up in the polymeric sand or the mortar joints, that’s where water gets in. Water is the enemy. Use a high-quality, solvent-based sealer every 3 to 5 years to keep the surface non-porous. Inspect your grading. If the lawn has built up a ‘lip’ of thatch and dirt at the edge of the walk, it will trap water. Scalp those edges. Ensure the water has a clear path to run off the hardscape and into the turf. If you ignore the edges, the base will saturate. It will fail. Again. Don’t let it happen.