![Build a $200 Gravel Path for Wet Side Yards [Fast]](https://lawnmajesty.com/wp-content/uploads/2026/06/Build-a-200-Gravel-Path-for-Wet-Side-Yards-Fast.jpeg)
Build a $200 Gravel Path for Wet Side Yards [Fast]
The $200 Wet Side Yard Solution: Engineering a Fast Gravel Path That Actually Drains
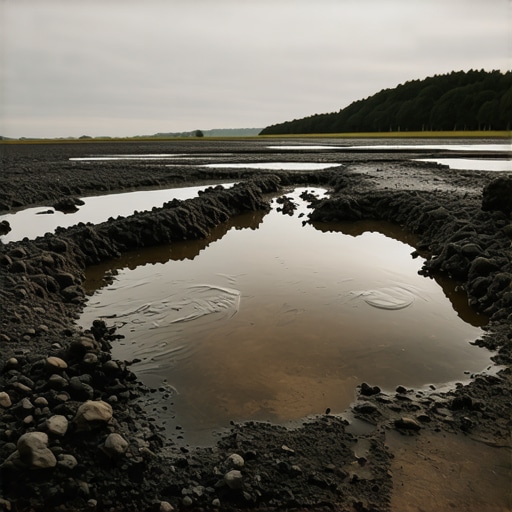
Most homeowners treat a side yard like an afterthought until the first heavy rain turns it into a muddy canal. If you are reading this, you are likely tired of the standing water, the dying turf grass, and the mud tracked into your house. A gravel path is the most cost-effective solution, but if you do not understand the physics of water movement and soil compaction, your $200 investment will literally sink into the earth within two seasons. We are looking at a tactical, fast-build approach that prioritizes drainage over aesthetics, though a well-engineered path happens to look professional by default.
Why Most Side Yard Paths Fail Within Six Months
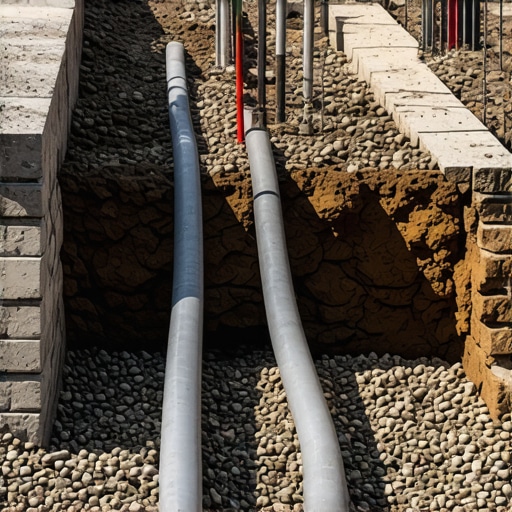
A gravel path for wet side yards fails when homeowners ignore subgrade compaction and hydrostatic pressure, leading to stone migration and deep ruts. To prevent failure, you must excavate to a depth of 4 inches, use non-woven geotextile fabric to separate soil from stone, and select angular crushed aggregate rather than rounded pea gravel. This structure ensures that water moves through the path while the stone remains locked in place under foot traffic.
I recently got called out to tear up a $30,000 patio that was sinking because the previous contractor thought they could beat physics. They ignored the fact that the side yard was the primary drainage corridor for the entire property. They laid expensive pavers over a thin bed of sand without a proper French drain or a compacted gravel base. Within one winter, the freeze-thaw cycle turned that patio into a series of jagged stone steps. Water trapped in the subbase expanded, lifted the pavers, and then collapsed the entire structure. I had to tell the homeowner that their $30k investment was now just expensive rubble. It was a brutal lesson in why managing water is more important than choosing a pretty stone. If you do not give water a path to leave, it will make its own path through your hardwork.
“A retaining wall doesn’t fail because of the stone; it fails because of the water trapped behind it.” – Hardscape Engineering Axiom
How much modified gravel do I need for a path base?
To calculate your material, multiply the length of your path by the width, then by the depth (converted to feet). For a standard 15-foot path that is 3 feet wide and 4 inches deep, you need 15 cubic feet of stone. Since most quarries sell by the ton, you should order roughly 0.75 to 1 ton of #57 or #411 crushed stone to account for compaction. Do not guess. Over-ordering is better than under-ordering, but measuring prevents wasted labor.
The Engineering of a $200 Build
When you are working with a $200 budget, you cannot afford mistakes. You are not buying fancy flagstone; you are buying structural integrity. The secret is the “fines.” Using a crushed stone that includes a mix of sizes allows the smaller particles to fill the gaps between the larger ones, creating a solid, interlocking surface. This is the difference between walking on a stable floor and walking through a ball pit. In wet areas, you must also consider the percolation rate of your soil. If you have heavy clay, your path needs to act as a horizontal drain.
| Material Type | Drainage Rating | Stability Level | Best Use Case |
|---|---|---|---|
| Pea Gravel (Rounded) | Excellent | Poor (Rolls) | Decorative borders only |
| #57 Crushed Stone | Excellent | Good | High-water drainage areas |
| #411 (Crush and Run) | Moderate | Excellent | High-traffic stable paths |
| Decomposed Granite | Poor | Excellent | Arid climates only |
For a wet side yard, #57 crushed limestone is your best friend. It has enough void space to allow water to move quickly to the lowest point of your yard but is angular enough to lock together under your boots. If the area is a literal swamp, you might need to go deeper and add a perforated pipe, but for $200, we are focusing on surface-level remediation through proper grading and stone selection.
What is the best fabric for wet area drainage?
For wet side yard paths, you must use non-woven geotextile fabric rather than the cheap plastic weed barrier found at big-box stores. Non-woven fabric is needle-punched, allowing water to pass through at high volumes while preventing the mud from mixing with your clean gravel. If you use a woven fabric, it can become slick and eventually clog with silt, turning your path into a slide. Non-woven fabric is the industrial standard for civil engineering projects for a reason. It works.
The Ground-Up Build: Step-by-Step
Preparation is 80 percent of the work. If you spend three hours digging and thirty minutes pouring stone, you did it right. If you spend ten minutes digging and two hours trying to level the stone, you failed. Start by marking your path with a garden hose or marking paint. Check for utilities. Call 811. Do not skip this. A $200 path becomes a $2,000 repair if you nick a shallow gas line or fiber optic cable.
“Soil compaction is the most critical and most ignored component of any exterior build; without it, the earth remains a fluid.” – Agronomy Manual Section 4
- Step 1: Excavation. Dig out the path area to a depth of 4 inches. Ensure the floor of the trench slopes away from your home’s foundation at a rate of 1 inch for every 4 feet.
- Step 2: Subgrade Compaction. Use a hand tamper or a plate compactor. The dirt should be hard enough that you can’t push a screwdriver into it easily.
- Step 3: Geotextile Placement. Lay down your non-woven fabric. Ensure it laps up the sides of the trench. This creates a “U” shape that keeps your stone clean.
- Step 4: Edging Installation. Use pressure-treated 2x4s or heavy-duty plastic edging. Secure them with 12-inch spikes. This prevents lateral migration of the stone.
- Step 5: Backfilling. Pour your crushed stone in 2-inch lifts. Level each lift before adding the next.
- Step 6: Final Tamping. Walk over the path or use the tamper one last time. The stone should feel locked. If it shifts significantly, you need more fines or more compaction.
Maintaining the Hydraulic Flow
Once the path is in, your job isn’t over. Wet side yards are dynamic. Over time, organic matter like leaves and grass clippings will settle into the gravel. If you let this rot, it creates a layer of soil on top of your path, and weeds will grow. This is not the fault of the fabric; it is a failure of maintenance. Blow the path off once a week. Keep it clean. If the path starts to hold water, it means the void spaces in your stone are clogged. A quick raking or a top-dress of fresh stone usually fixes this. It will rot if you leave debris on it. Don’t skip the cleaning. Your side yard’s health depends on the stone’s ability to breathe and drain.
How do I stop weeds in a gravel path without chemicals?
The best way to stop weeds in a gravel path is to maintain the mineral integrity of the stone. Weeds do not grow from the soil below if you used a heavy-duty fabric; they grow in the organic silt that accumulates between the stones. Using a propane torch or high-strength horticultural vinegar are effective non-chemical ways to clear surface growth. However, if you keep the path clear of leaf litter, you eliminate the medium weeds need to germinate. Prevention is the only real cure.