3 Mistakes to Avoid When Installing a Gravel Path
The Engineering of a Stable Gravel Path
To avoid gravel path failure, homeowners must prioritize subgrade compaction, install professional-grade geotextile separation fabric, and select angular crushed stone rather than rounded aggregates. These engineering choices prevent sinking, soil migration, and the ‘marble effect’ that makes walking difficult on poorly designed paths. Most DIYers treat gravel as a decorative mulch; professionals treat it as a structural pavement system.
The $30,000 Failure: A Hardscape Autopsy
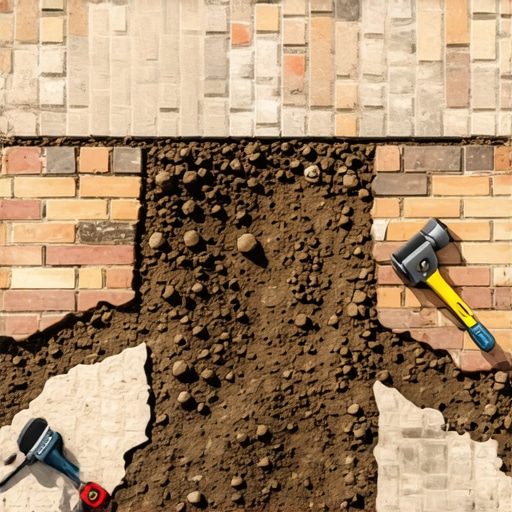
I recently got called out to tear up a massive installation that was sinking because the previous contractor ignored the basic laws of soil mechanics. The homeowner had spent a fortune on high-end limestone, but within six months, the path had literally disappeared into the Georgia clay. When we excavated, I found exactly what I expected: no separation fabric and a base layer that was less than two inches deep. The native soil had mixed with the expensive stone, turning it into a structural soup. It was a $30,000 lesson in why you never skip the foundation. If you don’t fix the soil grading first, every plant or stone you put in the ground is just expensive compost. It doesn’t matter how pretty the top looks if the subgrade is a sponge.
Mistake 1: Ignoring Subgrade Compaction and Drainage
A successful gravel path is a drainage project masquerading as a landscaping feature. Most people grab a shovel, scrape off the grass, and dump stone. This is a recipe for a muddy trench. You must excavate at least 4 to 6 inches deep to create a proper ‘box’ for your materials. Once the soil is exposed, it must be compacted using a plate compactor. Hand-tamping is insufficient for anything longer than a few feet.
How deep should a gravel path be?
For a durable walking surface, you need a minimum depth of 4 inches, consisting of a 2-inch structural base and a 2-inch finish layer of aggregate. This depth allows for proper load distribution and prevents the underlying soil from reaching the surface through ‘frost heave’ or saturation.
“A retaining wall doesn’t fail because of the stone; it fails because of the water trapped behind it.” – Hardscape Engineering Axiom
Furthermore, you must ensure a 2% pitch. This means the path should slope 1/4 inch per foot to the side to shed water. If water sits under your gravel, the soil becomes plastic, loses its load-bearing capacity, and your path will develop ruts.
Mistake 2: Using Cheap ‘Weed Barrier’ Instead of Geotextile Fabric
The thin, black plastic or woven fabric sold at big-box stores is useless for hardscaping. It tears easily and clogs with silt. In professional landscaping, we use non-woven needle-punched geotextile fabric. The purpose isn’t just to stop weeds—weeds grow in the dust that settles from the top anyway. The true purpose is separation. Without this barrier, the heavy gravel will eventually be pushed down into the soft soil by foot traffic, a process known as soil migration. Once your stone mixes with the dirt, the path loses its drainage and stability. It will rot. Don’t skip this.
Mistake 3: Choosing Aesthetic Pebbles Over Angular Stone
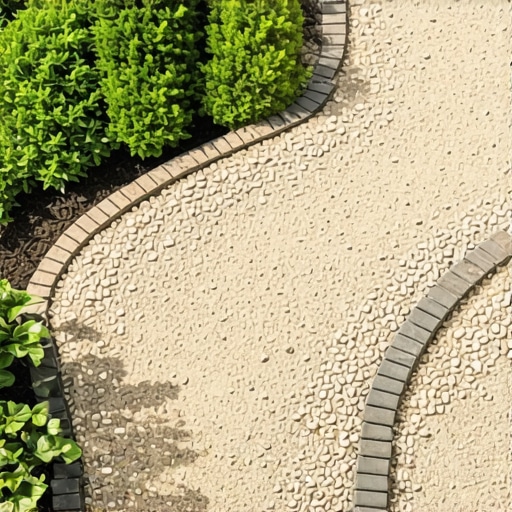
This is where most garden designs fail. Homeowners love the look of ‘Pea Gravel’ because it is smooth and colorful. From a civil engineering standpoint, pea gravel is a nightmare. Because the stones are round, they have no friction against one another. They act like ball bearings. Every time you step, your foot sinks and the stone displaces. For a functional path, you need angular crushed stone. These stones have sharp edges that lock together under pressure, creating a firm, walkable surface. Look for ‘3/4-inch minus’ or ‘crushed stone fines’ which contain a mix of stone sizes that pack down into a solid matrix.
What is the best gravel for walking on?
The best material for a stable walking path is decomposed granite (DG) or crushed limestone fines. These materials provide a high ‘angle of repose’ and lock together to form a surface that is firm enough for strollers or wheelchairs while still remaining permeable.
Technical Material Comparison
| Material Type | Angularitry | Stability | Drainage Rate | Best Use |
|---|---|---|---|---|
| Pea Gravel | Low (Rounded) | Poor | Excellent | Decorative borders |
| Crushed Limestone | High (Angular) | Excellent | Good | High-traffic paths |
| Decomposed Granite | Very High | Superior | Moderate | Firm walkways |
| River Rock | None | Failing | High | Dry creek beds only |
The Professional Installation Checklist
- Call 811 to mark underground utilities before digging.
- Excavate to a depth of 5 inches and remove all organic root matter.
- Compact the bare soil until a plate compactor bounces off the surface.
- Lay professional-grade 4oz non-woven geotextile fabric across the entire trench.
- Install a rigid edging system (steel or heavy-duty poly) to contain the lateral pressure of the stone.
- Apply a 3-inch base layer of ‘Crusher Run’ and compact.
- Apply the 1-inch finish layer of decorative angular stone.
“Soil moisture tension and pore-water pressure are the primary drivers of aggregate displacement in unpaved pathways.” – USDA Forest Service Trail Management Handbook
The ‘Settling In’ Period
Expect your path to shift slightly over the first two heavy rains. This is normal. As the ‘fines’ wash into the voids, the path will actually become tighter. If you notice low spots, do not just rake gravel into them; identify if the subgrade has settled and address the compaction. A well-built path should last 15 years with nothing more than an occasional raking. Stop buying cheap bags of stone. Do the engineering. Build it once.