Build a $300 2026 Stone Bench for Garden Paths [Budget DIY]
Most DIY garden benches look like junk after exactly one winter. They tilt, they sink, and they eventually become a tripping hazard or a pile of expensive rubble. Building a stone bench that actually lasts until 2026 and beyond for under $300 isn’t about buying the prettiest rock at a big-box store; it is about understanding the structural physics of your soil and the hydrostatic pressure of your garden path. If you think you can just throw two blocks down and call it a day, stay off my job site. You are building a small-scale bridge, not a decorative knick-knack.
I recently got called out to tear up a $30,000 patio that was sinking because the previous contractor failed to recognize a high water table and used a standard sand base instead of a non-frost-susceptible open-graded stone. The patio had shifted four inches in three years, cracking every joint. That is what happens when you ignore the engineering. Your $300 bench will suffer the same fate if you don’t treat the ground beneath it with respect. Soil is a living, moving entity. It breathes, it expands when wet, and it contracts when dry. Your job is to create a decoupled interface between the bench and the earth.
The Foundation of Functional Garden Seating
Building a stone bench for $300 in 2026 requires precise procurement of dimensional flagstone, compactable sub-base, and levelling fines. Success hinges on managing soil bearing capacity and ensuring the frost line does not heave the structure, leading to structural failure or aesthetic degradation over time through repeated seasonal cycles.
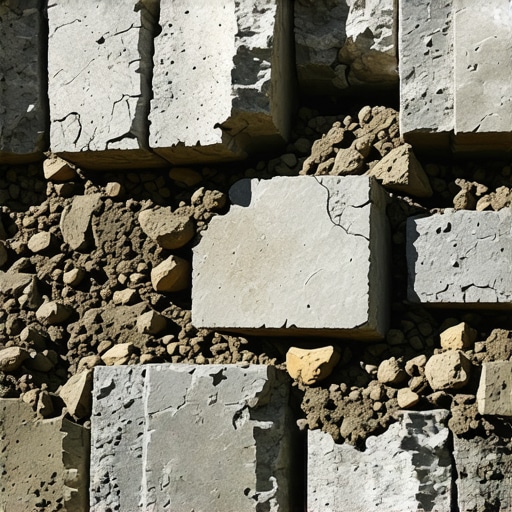
First, you need to select your stone. For a $300 budget, you are looking at local limestone or sandstone. Avoid granite unless you have a connection at a quarry; the shipping costs alone will blow your budget. You need three pieces: two upright legs (plinths) and one horizontal slab (the seat). The seat should be at least 2 inches thick. Anything thinner will snap under the tensile stress of two adults sitting on it. When you visit the landscape yard, do not look at the color first. Look at the cleavage planes. If you see visible cracks or delamination in the stone, it will shatter during the first hard freeze.
| Material Item | Estimated 2026 Cost | Quantity Needed | Function |
|---|---|---|---|
| 2A Modified Gravel | $45.00 | 0.5 Cubic Yard | Structural Sub-base |
| Levelling Stone Dust | $15.00 | 3 Bags | Fine Grade Layer |
| Natural Limestone Slab | $180.00 | 1 (48″ x 14″) | Seating Surface |
| Limestone Block Legs | $60.00 | 2 (14″ x 12″) | Vertical Support |
Site Prep: Managing Grade and Compaction
Proper site preparation for a stone bench involves excavating the O-horizon (organic matter) to reach the mineral subsoil, which provides the necessary PSI (pounds per square inch) support. A 6-inch deep trench, backfilled with mechanically compacted modified gravel, prevents the bench from settling unevenly and cracking the stone slab.
Don’t just dig a shallow hole. You need to dig two footings, one for each leg. Each footing should be 4 inches wider than the leg on all sides. Dig down 8 inches. The first 6 inches must be filled with 2A modified gravel (a mix of crushed stone and fines). This material is the backbone of hardscaping. When you hit it with a hand tamper, the different sizes of stone lock together to create a solidified mass that still allows for capillary drainage.
“A retaining wall doesn’t fail because of the stone; it fails because of the water trapped behind it.” – Hardscape Engineering Axiom
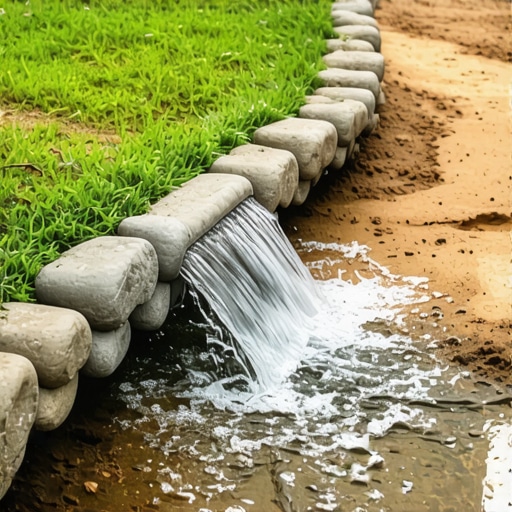
The same logic applies here. If water pools under your bench legs, it will freeze. When water freezes, it expands by roughly 9%. That expansion is enough to lift a 200-pound stone leg. When it thaws, it doesn’t settle back perfectly. After three years, your bench is crooked. Use a hand tamper. Use it until the gravel literally bounces the tamper back at you. If you can leave a footprint in the gravel, you aren’t done. Don’t skip this. It will rot.
How much modified gravel do I need for a patio base?
For a standard stone bench footing, you need approximately 0.5 cubic yards of 2A modified gravel to ensure a 6-inch compacted depth. This depth is critical for distributing the dead load of the stone across a wider surface area of the subsoil, preventing localized sinkage.
The Assembly: Engineering Stability without Mortar
Assembling a dry-stack stone bench requires achieving planarity across the two support legs using a long-bed spirit level. By using stone-to-stone friction and gravity rather than rigid mortar, the bench can accommodate minor soil movements without structural cracking, ensuring longevity in freeze-thaw climates.
Once your footings are compacted, add 1 inch of stone dust or coarse sand. This is your levelling layer. Set your legs. Use a 4-foot level to ensure they are perfectly level with each other across the gap. If they aren’t level, the seat will wobble. A wobbling stone seat is a shearing hazard. Once level, carefully place the slab. If the slab isn’t perfectly flat on the bottom, use small lead shims or stainless steel washers to stop any rocking. Never use wood shims. They will rot.
“Soil structure is the arrangement of soil particles into aggregates. Compaction destroys this structure, which is necessary for drainage, but essential for load-bearing stability in construction.” – USDA Soil Sciences Manual
This is the paradox of landscaping: we want the lawn to be loose and aerated, but we want the bench base to be as hard as concrete. You must keep these two zones separate. Do not allow your compacted base to bleed into the root zones of nearby plants.
Is a stone bench better than wood for garden paths?
Stone benches are superior for garden paths because they offer thermal mass and zero rot-potential. Unlike cedar or pressure-treated wood, stone is inert and won’t leach chemicals into the rhizosphere of your garden plants, nor will it require annual staining or structural replacement after ten years.
Integration: Managing Lawn Care Around Stone
Integrating a stone bench into a lawn care routine requires a physical barrier, such as a cobblestone mow-strip, to prevent mechanical damage from string trimmers. This also prevents turfgrass encroachment into the gravel base, which can introduce organic matter that holds moisture and leads to biological weathering of the stone.
- Step 1: Excavate 8-inch deep footings to remove all sod and topsoil.
- Step 2: Install a geotextile fabric to separate the gravel from the clay.
- Step 3: Fill with 6 inches of 2A modified gravel in 2-inch lifts, compacting each lift.
- Step 4: Level the legs using a spirit level and 1 inch of bedding sand.
- Step 5: Set the seat slab and verify zero-wobble stability.
- Step 6: Backfill around the base with decorative river rock to prevent soil splashing.
Watch your nitrogen levels near the bench. If you are over-fertilizing your lawn with high-N synthetics, the runoff can promote lichen and moss growth on the stone. While some people like the look, moss holds moisture against the stone’s surface. In sedimentary stones like limestone, this moisture can enter micro-fissures and cause spalling over time. Keep the stone dry and keep the trimmer away. Use a hand-shear for the grass touching the stone. Don’t be lazy.