Fixing 2026 Paver Gaps with Polymeric Sand
The Anatomy of a Failed Joint: Why Your Paver Gaps Are Opening
Fixing paver gaps in 2026 requires the total extraction of failed jointing material and the precise application of polymeric sand designed for structural interlock. This process stabilizes the paver system, prevents weed germination, and mitigates hydrostatic pressure that causes shifting in hardscape installations across varying climates.
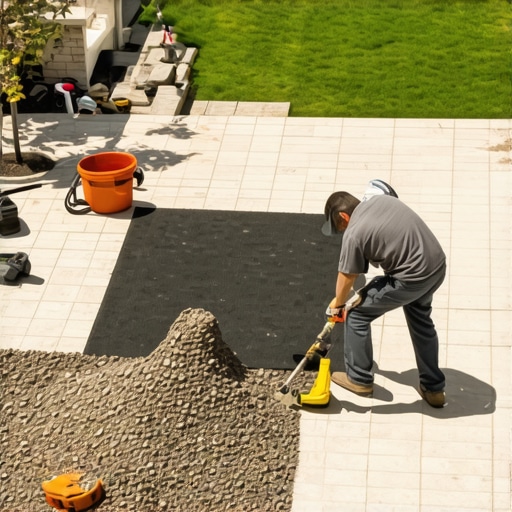
I recently got called out to tear up a $30,000 patio that was sinking because the previous contractor used play sand instead of a proper polymeric binder. The homeowner thought they were saving money. Instead, every rainstorm washed the sub-base out through the gaps. It was a mess. The pavers were wobbling like loose teeth. I told the crew to grab the jackhammers because when the foundation is compromised by poor jointing, you aren’t just fixing a gap; you are performing an autopsy on a dead project. I see this every week. Contractors who call themselves professionals but don’t understand the difference between a modified gravel base and simple dirt. If you don’t respect the physics of capillary action and joint stabilization, your hardscape is just a pile of expensive bricks waiting to move.
“A retaining wall doesn’t fail because of the stone; it fails because of the water trapped behind it.” – Hardscape Engineering Axiom
Why do paver joints fail after three years?
Joint failure usually stems from insufficient compaction or the use of non-polymeric infill. When water enters the joint, it carries organic matter. This matter rots, creating a void. Nature hates a vacuum. Weeds move in. Ants move in. Then, the freeze-thaw cycle hits. Ice expands with a force of roughly 30,000 PSI. That pressure pushes the pavers apart, widening the gap until the interlock is gone. You cannot just sweep more sand on top. You have to clean it out to the full depth of the paver. Anything less is a cosmetic band-aid on a structural wound. Don’t skip the pressure wash. Don’t skip the drying time.
Selecting the Right Polymeric Sand for 2026 Standards
Choosing the correct polymeric sand involves matching the joint width to the polymer concentration to ensure a weather-resistant bond. High-performance sands in 2026 use cross-linked polymers that provide flexibility during thermal expansion while maintaining a rigid barrier against erosive water flow and invasive pests.
| Material Type | Max Joint Width | Cure Time | Best Use Case |
|---|---|---|---|
| Standard Polymeric | 1 inch | 24-48 Hours | Residential Patios |
| High-Strength G2 | 2 inches | 12-24 Hours | High-Traffic Walkways |
| Rapid-Set Hybrid | 4 inches | 3-6 Hours | Commercial Plazas |
| Traditional Sieve Sand | 0.1 inch | N/A | Historical Restorations |
Not all sand is created equal. I’ve seen guys use big-box store specials that turn into a gummy, sticky mess that never cures. You want a sand that meets ASTM C144 specifications. This ensures the grain size distribution is optimized for compaction. If the grains are all the same size, they won’t lock. You need a variety of sizes to fill the interstitial voids. It is basic engineering. We use a vibratory plate compactor with a protective mat to force the sand down. If the sand isn’t packed tight, it will settle the first time it rains. Then you are back to square one. Buy the professional-grade bags. The extra $10 per bag is cheaper than a $30,000 teardown.
The Step-By-Step Restoration: A Forensic Cleanout
The restoration of eroded paver joints demands a mechanical extraction of old debris followed by a decontamination phase to remove biofilm and organic matter. Only then can the new polymeric sand be installed using vibratory consolidation to ensure a full-depth joint fill and long-term durability.
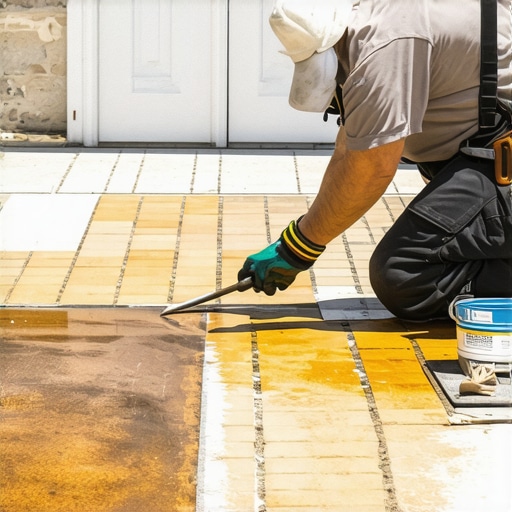
- Step 1: Mechanical Extraction. Use a pressure washer with a turbo nozzle or a specialized joint rake. You must reach the bottom of the paver.
- Step 2: Sterilization. Apply a 10% bleach solution or a professional-grade algaecide to kill any remaining spores.
- Step 3: Total Desiccation. The joints must be bone dry. If there is moisture, the polymers will activate prematurely and stick to the top of the paver.
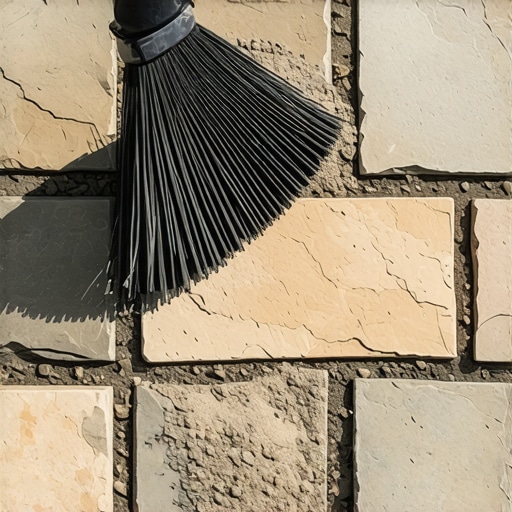
- Step 4: The Sweep and Consolidate. Pour the sand. Sweep it in. Run the plate compactor. Repeat until the joints are filled to within 1/8 inch of the paver chamfer.
- Step 5: Mist Activation. Use a fine mist. Do not flood the joints. You want the water to penetrate, not wash the glue away.
How much polymeric sand do I need for a patio base?
For standard 2-3/8 inch thick pavers with a 1/8 inch joint, you can expect one 50-pound bag to cover approximately 60 to 75 square feet. However, if you are dealing with wide-gap cobblestone or flagstone, that coverage can drop to 20 square feet per bag. Always calculate for 10% waste. I always keep two extra bags on the truck. You don’t want to run out when the humidity is rising. Humidity is the enemy of a clean install. If the air is damp, the sand will bridge. This creates a crust on top while the bottom remains hollow. It will fail. Use a leaf blower to clear every single grain of sand off the surface before you mist it. If you don’t, you’ll have polymeric haze. That stuff is a nightmare to remove. It requires acid. Don’t be that guy.
Can I put new polymeric sand over old sand?
Absolutely not. This is the most common mistake I see. New polymeric sand will not bond to old, weathered sand. It creates a shear plane. The new layer will simply flake off in a few months. You must have a clean, vertical surface for the polymers to grip. Think of it like painting a car; you don’t just spray over the rust. You grind it down. The same rule applies here. If you are lazy with the prep, the finish will be garbage. I tell my apprentices: if your back doesn’t hurt from the pressure washer, you didn’t clean the joints deep enough. It is manual labor, not magic. You need a minimum depth of 1.5 inches for the sand to have enough mass to stay put.
“Jointing sand must be considered a structural component of the pavement system, not merely a filler.” – ICPI Tech Spec No. 5
Environmental Variables: Soil and Drainage Impact
In regions with heavy clay soil, you must account for poor percolation which can lead to joint washout from underneath. If your sub-base holds water, the hydrostatic pressure will eventually push the sand out of the joints, regardless of the polymer quality. I always check the grading first. If the yard slopes toward the patio, you are fighting a losing battle. You need a French drain or a swale to divert that water. In 2026, we are seeing more extreme rain events. The old standards for 1-inch-per-hour drainage are becoming obsolete. We are now building for 3-inch-per-hour events. That means deeper gravel bases and better jointing. It is about resilience. If you live in a freeze-thaw zone, this is even more critical. Water trapped in the joint will heave the pavers. Once they heave, the seal is broken. The system is compromised. Check your 811 / Dig Safe markers before you start any excavation for drainage. It’s the law, and hitting a gas line will ruin your weekend faster than a bad sand job. Don’t skip the details. The dirt never lies.