How to Build a Sturdy Pea Gravel Patio in One Weekend
The Hardscape Autopsy: Why Most Pea Gravel Patios Fail
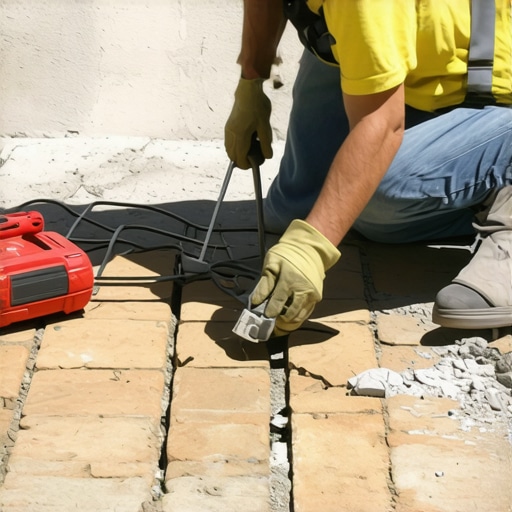
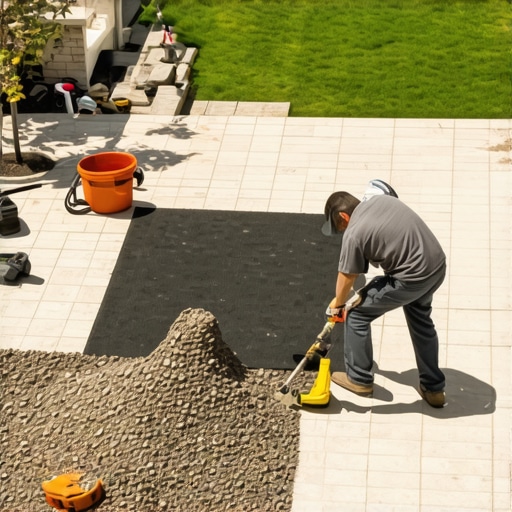
I recently got called out to tear up a $30,000 patio that was sinking because the previous contractor thought they could just dump stone over topsoil. It was a swampy mess. The homeowners were out a fortune because they hired a mow-and-blow guy who didn’t understand soil mechanics or the fundamental physics of hydrostatic pressure. When you skip the engineering and treat a patio like a garden bed, the Earth wins every single time. Most DIY guides tell you to dig a shallow hole and throw some gravel in. That is a recipe for a muddy pit. A professional build requires understanding sub-grade stability and the structural necessity of a compacted base. If you don’t fix the soil grading first, every plant or stone you put in the ground is just expensive compost. I tell my crew this every morning: build for the water, not for the eye. If the water has nowhere to go, your patio will migrate into the neighbor’s yard within two seasons. Stop thinking about aesthetics and start thinking about civil engineering. [image placeholder]
Site Preparation and Soil Mechanics
To build a sturdy pea gravel patio, you must excavate 6 inches of soil, install a 4-inch compacted base of modified gravel (CR6 or 21A), and secure it with a heavy-duty geotextile fabric before adding exactly 2 inches of round pea stone. This depth is critical because anything deeper than 3 inches creates a ‘quicksand’ effect where furniture sinks and walking becomes difficult. You are creating a layered system designed to distribute weight and manage moisture. We start by stripping the organic layer. Grass and topsoil are sponges. They hold water and compress under load. You need to reach the mineral soil, typically a clay or silty sub-grade, before you even think about your first load of stone. Use a laser level. A 1 percent slope away from any foundations is the absolute minimum to prevent basement flooding. Do not guess. A 1/8-inch per foot drop is the standard for proper drainage in hardscaping environments.
How much modified gravel do I need for a patio base?
To calculate your base material, multiply the square footage by the depth in feet (0.33 feet for a 4-inch base) and divide by 27 to get cubic yards. Always order 10 percent extra for compaction loss. When you hit that stone with a 3,000 PSI plate compactor, it will shrink in volume as the fines fill the voids.
| Material Type | Particle Size | Compaction Strength | Drainage Rating |
|---|---|---|---|
| Pea Gravel | 3/8 inch | Low (Non-locking) | Excellent |
| Modified Stone (21A) | 0 to 3/4 inch | High (Structural) | Good |
| Decomposed Granite | Fines to 1/4 inch | Medium-High | Fair |
| River Rock | 1 inch plus | None | Superior |
The Structural Foundation: Base Layers and Compaction
A professional base layer is not optional; it is the skeleton of your hardscape. We use a modified crushed stone, often called crusher run or 21A. This material contains a mix of sizes from 3/4-inch chunks down to stone dust. When moisture is added and a mechanical compactor is applied, these varied sizes lock together into a semi-impermeable plate.
“A stable base is achieved only when the aggregate interlock is sufficient to resist lateral displacement under expected load-bearing conditions.” – ICPI Tech Spec No. 2
You must compact in 2-inch lifts. If you throw 4 inches of stone down and run a compactor over the top, the bottom 2 inches remain loose. This leads to settling. The plate compactor should literally bounce off the surface when the base is fully locked. This is the ‘thud’ test. If it sounds hollow or feels soft, keep going. You are looking for a surface you could drive a truck over without leaving ruts. This is where the 80 percent of the work happens. If you fail here, the pea gravel on top is irrelevant.
Does pea gravel need a sub-base?
Yes, pea gravel is a non-locking, rounded stone that acts like ball bearings. Without a compacted sub-base of crushed stone and a geotextile separator, the pea gravel will mix with the dirt below, turning your patio into a muddy slurry after the first heavy rain. The sub-base provides the structural integrity that pea gravel lacks.
Drainage, Fabric, and Edge Restraint
Once your base is rock hard, you lay your geotextile. Do not use cheap, paper-thin weed barrier from a big-box store. You need a 4-ounce or 6-ounce non-woven needle-punched fabric. This allows water to pass through into the soil while preventing the pea stone from migrating down into your base. Overlap your seams by at least 12 inches.
“Poor drainage is the primary cause of pavement failure; water must be directed away from the subgrade to maintain soil load-bearing capacity.” – Penn State Agricultural Extension
For edging, skip the plastic spikes. Use heavy-duty steel edging or a pavestone soldier course set in concrete. Pea gravel wants to travel. It wants to be in your lawn, in your mower blades, and in your house. A 1-inch reveal on your edging will keep the stone contained. Ensure your edging is set deep enough to resist frost heave in northern climates. In heavy clay soils, consider a French drain tied into the base layer to prevent the ‘bathtub effect’ where water sits in the excavated hole with nowhere to percolate.
Installation Checklist for a One-Weekend Build
- Mark utilities by calling 811 before any excavation begins.
- Excavate to a depth of 6 to 8 inches, removing all sod and organic matter.
- Grade the sub-grade at a 1 to 2 percent slope away from structures.
- Install 4 inches of 21A modified stone in two separate 2-inch lifts.
- Use a gas-powered plate compactor on each lift, spraying lightly with water to aid density.
- Lay professional-grade non-woven geotextile fabric over the compacted base.
- Install steel or aluminum edging, securing with 12-inch stakes every 2 feet.
- Spread 2 inches of washed 3/8-inch pea gravel evenly across the surface.
- Rake the gravel smooth and check for low spots.
Year-One Management and Maintenance
Your patio will settle. This is normal. In the first few months, you might see small depressions. Do not add more stone immediately. Let the seasons cycle. You will need to rake the stone occasionally to keep it level. Avoid using a leaf blower on high power or you will blast your stone into the flower beds. Use a rake with flexible tines. Every three to five years, you may need to add a small ‘top-off’ layer of half an inch of fresh stone to account for minor loss. If weeds appear, they are likely growing in the dust that has blown into the gravel, not coming from the soil below. A quick shot of high-strength vinegar or a propane torch is more effective than dumping poison into your local watershed. Keep the edges clear of grass encroachment. If you see the base material peeking through, your stone layer is too thin. Maintain that 2-inch depth. A well-built pea gravel patio is a lifetime asset, but only if you respect the dirt it sits on.