How to Create a Safe Fire Pit Area on a Budget
The Hardscape Autopsy: Why Budget Fire Pits Fail
I recently got called out to tear up a $30,000 patio that was sinking because the previous contractor failed to account for the thermal expansion and drainage around a central fire pit. The homeowner thought they were saving money by skipping the specialized base material. Instead, they created a heat-sink that trapped moisture, eventually turning the underlying soil into a literal mud-pit. This is the reality of hardscaping. If you do not respect the physics of the ground, the ground will reclaim your investment. Building a fire pit on a budget does not mean cutting corners on engineering. It means choosing materials that offer high performance at lower costs while maintaining the integrity of your lawn care and overall garden design. Forget the fancy aesthetics for a moment. We need to talk about soil compaction, heat radiation, and moisture management.
The Core Requirements for Fire Pit Stability
A safe fire pit area requires a minimum 10-foot clearance from structures, a compacted 4-to-6 inch modified gravel base, and fire-rated masonry to prevent thermal expansion cracks. Budget projects succeed by prioritizing structural integrity over expensive stone veneers or exotic decorative gravels. You cannot simply drop a ring on the grass and call it a day. The turf will die, the soil will settle unevenly, and the heat will eventually cause any standard concrete blocks to crack or explode due to moisture trapped in the aggregate. Excavation is the most important part of this process. It is hard work. It is dirty. It is non-negotiable. If you are not willing to dig, you are not building a fire pit; you are building a hazard.
“A retaining wall doesn’t fail because of the stone; it fails because of the water trapped behind it.” – Hardscape Engineering Axiom
How much modified gravel do I need for a fire pit base?
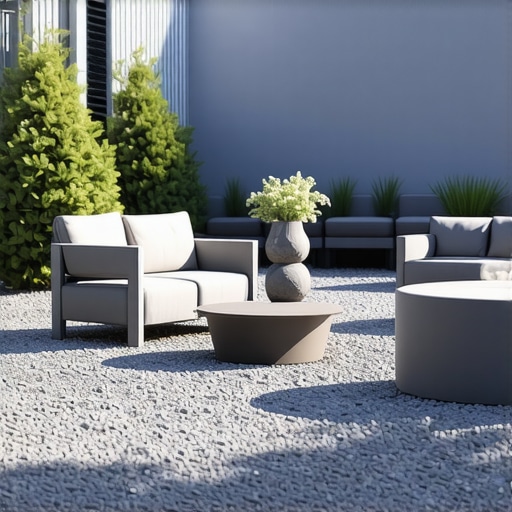
To calculate your gravel needs, multiply the total square footage of your intended pit area by the depth of the base (usually 0.5 feet for a 6-inch base), then divide by 27 to get the cubic yardage. For a standard 10-foot diameter circular area, you are looking at roughly 1.5 to 2 cubic yards of 2A modified stone. This material is key because it contains both crushed stone and fine dust, which allows for maximum compaction. Do not use pea gravel for the base. Pea gravel is round and will never lock into place. It is like trying to build a house on marbles. You need angular, crushed limestone that will lock together under the weight of a plate compactor. I tell my crew: if the tamper doesn’t bounce off the surface, it isn’t ready yet.
Selecting Budget-Friendly Materials for Safety
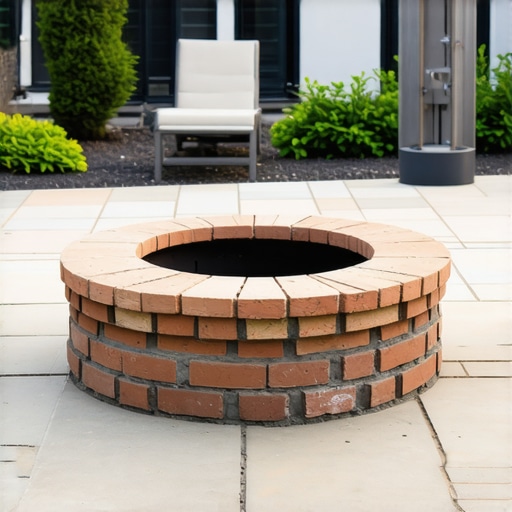
When you are working on a budget, your biggest enemy is the ‘big box’ store impulse buy. Those thin, decorative pavers are not designed to withstand 800-degree temperatures. Instead, look for heavy-duty concrete wall blocks or, better yet, fire bricks (refractory bricks) for the inner lining. Fire bricks are rated for high heat and will protect the exterior decorative stone from cracking. This is where you spend your money. You can use cheap, 4-inch thick concrete blocks for the outer ring, but the inner ring must be heat-shielded. A steel fire ring insert is another excellent budget-friendly way to create a barrier between the flame and your masonry. It prevents the ‘thermal shock’ that occurs when stone goes from 40 degrees to 400 degrees in ten minutes.
| Material | Est. Cost (per sq ft) | Heat Resistance | Durability |
|---|---|---|---|
| Crushed Limestone | $1.50 – $3.00 | High | Excellent |
| Fire-Rated Bricks | $2.50 – $4.00 | Extreme | Superior |
| Standard Concrete Blocks | $1.00 – $2.00 | Low | Moderate |
| Flagstone (Local) | $5.00 – $8.00 | Moderate | High |
Notice the cost of limestone. It is your best friend. A thick layer of crushed stone provides the drainage needed to prevent frost heave in the winter and ensures the area remains stable even after heavy rains. It also acts as a natural fire break, preventing stray embers from igniting nearby lawn care zones or dried mulch.
Can I build a fire pit directly on grass?
The short answer is no. Grass is organic matter that will eventually rot and settle, causing your fire pit to tilt or collapse. Furthermore, the heat from the pit will cook the root systems of the surrounding turf, creating a dead zone that is ripe for invasive weed growth. You must remove the sod, dig down to the subsoil, and replace that volume with non-biodegradable aggregate. This is a common mistake I see with homeowners who follow ‘quick fix’ garden design videos. They skip the excavation and find themselves with a sinking pit within two seasons. Professional landscaping requires removing the life to support the structure.
The Engineering of Drainage and Airflow
You need to think about where the water goes. If you build your pit in a low spot in the yard, it will become a pond every time it rains. This is bad for the masonry and even worse for the soil biology. High moisture levels in the stone can lead to ‘steam-jacking’ during a fire, where the water inside the stone pores turns to steam and expands, causing the stone to shatter. Always grade the area so water moves away from the pit. A 2-percent slope is usually sufficient. Additionally, ensure your pit has ‘weep holes’ or gaps in the bottom layer of stone to allow for airflow. Fire needs oxygen to burn cleanly. Without airflow, you get a smoky, smoldering mess that irritates the neighbors and leaves a thick layer of soot on everything.
“Effective drainage is the prerequisite for all structural masonry. Without it, the freeze-thaw cycle will dismantle the strongest bond.” – ICPI Technical Manual
[IMAGE_PLACEHOLDER]
Installation Checklist: The Pro Method
- Call 811 to mark underground utility lines before you dig.
- Mark a 10-foot radius around the pit to ensure clearance from trees and structures.
- Excavate 8 inches deep: 6 inches for gravel, 2 inches for the first course of stone.
- Compact the subsoil with a hand tamper until it is firm.
- Add 2A modified stone in 2-inch ‘lifts,’ compacting each layer thoroughly.
- Level the first course of stone perfectly; this dictates the rest of the build.
- Use heat-resistant masonry adhesive between layers, but leave gaps for airflow.
- Install a steel fire ring insert to protect the masonry from direct flame contact.
One specific, contrarian point: do not fill the bottom of your fire pit with sand. While many DIY guides suggest this, sand holds moisture and prevents proper drainage. Instead, use a few inches of lava rock or small crushed stone at the bottom. This allows water to pass through into the gravel base while still providing a surface for the coals to sit on. It is a cleaner, more professional approach that extends the life of the installation. If you ignore this, you will end up with a soggy mess at the bottom of your pit that takes days to dry out after a storm.
Maintaining the Zone
Maintenance is where the veterans separate themselves from the amateurs. In year one, expect some minor settling. This is normal. If you have used crushed limestone, you can easily top it off. Watch for root encroachment from nearby trees. Tree roots are opportunistic; they will grow toward the moisture-retaining gravel base under your pit. This can cause the base to heave. Keeping a 10-foot buffer from the ‘drip-line’ of large trees is not just about fire safety; it is about protecting the tree’s health and your pit’s stability. Check your local ordinances for burn bans and permit requirements. Many municipalities require a ‘spark arrestor’ screen, which is a small price to pay for preventing a brush fire. Don’t be the person who burns down the neighborhood because you wanted to save $40 on a screen. Respect the fire, respect the ground, and your budget project will last for decades.