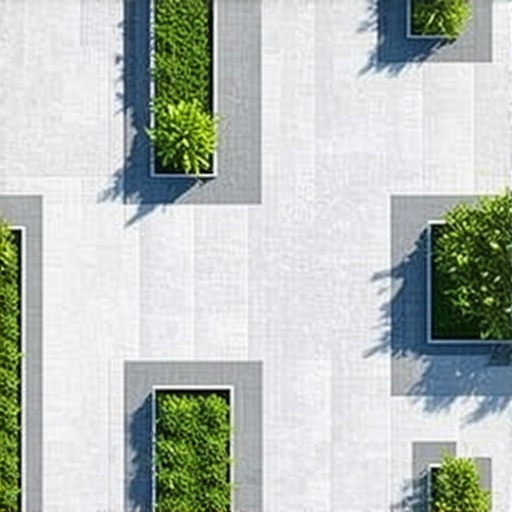
![3 Polymeric Sand Hacks to Stop 2026 Paver Weeds [Tested]](https://lawnmajesty.com/wp-content/uploads/2026/03/3-Polymeric-Sand-Hacks-to-Stop-2026-Paver-Weeds-Tested.jpeg)
3 Polymeric Sand Hacks to Stop 2026 Paver Weeds [Tested]
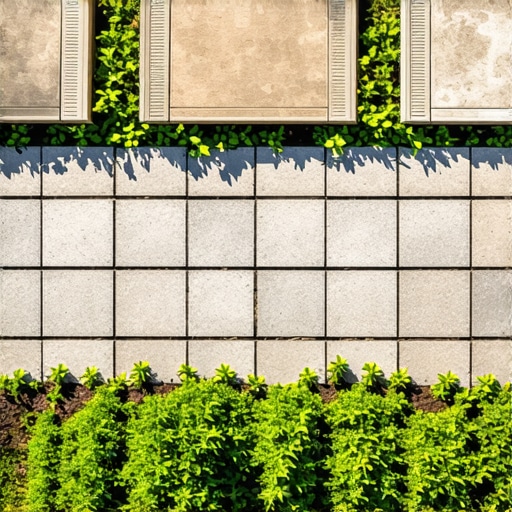
I recently got called out to tear up a $30,000 patio that was sinking and infested with enough vegetation to start a small farm because the previous contractor thought he could skip the compaction phase. The pavers were top-of-the-line Techo-Bloc, but the joints were filled with cheap, unwashed utility sand that had essentially turned into a greenhouse for crabgrass. When we pulled the stones, the odor of stagnant water and anaerobic decomposition was overwhelming. This is what happens when you treat hardscaping like a DIY interior tile project. A patio is a living engineering system. It breathes, it moves with the freeze-thaw cycle, and it battles hydrostatic pressure every time it rains. If you don’t understand the chemistry of polymeric sand and the physics of joint stabilization, you are just paving a road for weeds to take over by 2026.
The Science of Joint Failure: Why Your Paver Weeds Keep Coming Back
To stop 2026 paver weeds, you must achieve full-depth saturation of high-quality polymeric sand, ensuring the interlocking joints are compacted to 95% density. This creates a monolithic barrier that prevents organic matter accumulation and seed germination between your hardscape pavers. Most homeowners think weeds grow from the bottom up. They don’t. Wind-blown seeds land in the microscopic crevices of loose sand, find a pocket of moisture, and thrive. If your sand isn’t a solid, hydrophobic mass, you’ve failed before you’ve even started. Weeds are opportunistic; they exploit the lack of density. Proper polymeric sand is a blend of graded sand and binders (polymers) that, when activated by water, create a flexible yet impenetrable seal.
“A retaining wall doesn’t fail because of the stone; it fails because of the water trapped behind it. Similarly, a paver joint doesn’t fail because of the sand; it fails because of the lack of structural interlocking.” – Hardscape Engineering Axiom
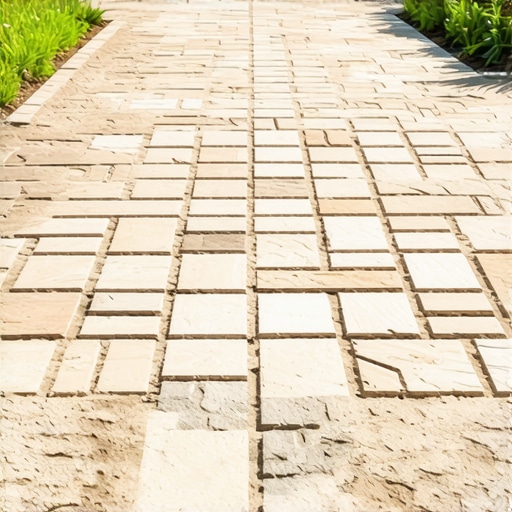
The first mistake is the sand quality. I see guys buying bags from the local hardware store that have been sitting in the rain. Once those polymers get damp in the bag, the cross-linking process begins prematurely. You end up with clumps that won’t settle into the bottom of the joint. You need dry, virgin material. We’re talking about ASTM-C144 gradation. The grain size must be varied enough to lock together under vibration. If the grains are all the same size, they act like ball bearings and roll right out of the joint. If they are too fine, they wash away. It’s about the distribution of mass within the 1/8th inch to 1/2 inch gap.
Hack 1: The Mechanical Compaction Secret (The 1-Inch Rule)
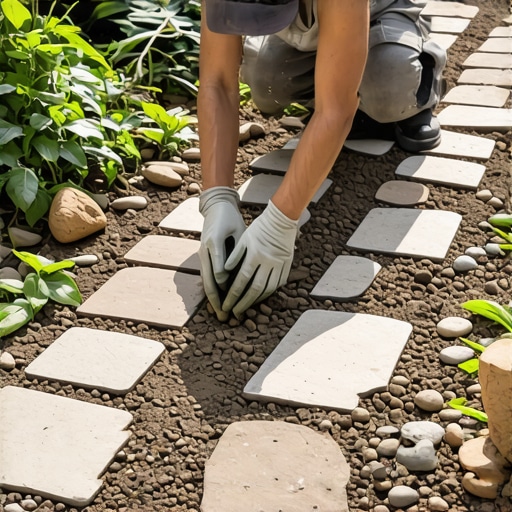
Effective paver joint stabilization requires mechanical vibration to eliminate air pockets and ensure the polymeric sand settles to the very bottom of the interlocking joint. Use a plate compactor with a protective mat to force the sand down exactly one inch at a time. This is non-negotiable. Most people pour the sand, sweep it, and spray it. That’s a cosmetic fix, not a structural one. If you don’t vibrate the pavers, you leave massive voids underneath. When the first heavy rain hits, the sand drops, the polymers crack, and the weeds move in. I tell my crew: if you don’t feel the vibration in your teeth, you aren’t compacting deep enough. You want that sand to be so tight it feels like concrete before you even add water.
“Polymeric sand must be installed to the full depth of the paver to provide the necessary shear strength required for interlocking pavement systems.” – ICPI Tech Spec #17
When you vibrate the pavers, the sand grains reorganize. The smaller particles fill the gaps between the larger particles. This is called the ‘void ratio.’ A lower void ratio means less space for water and less space for roots. It’s pure physics. I’ve seen 2026 projections for weed growth in residential areas, and they are aggressive due to rising soil temperatures. Your only defense is a high-density joint. Don’t skip the mat on the compactor, either. You’ll scuff the face of the stone, and once that factory seal is gone, the paver itself becomes porous and susceptible to moss. It’s a chain reaction of failure.
Hack 2: Precision Hydration (The Shower vs. Flood Method)
To properly activate polymeric sand binders, you must use a mist-to-shower progression that saturates the joint without washing out the polymer resins. This hydration cycle must be repeated three times to ensure the water reaches the bottom of the paver base without pooling on the surface. If you flood the surface, you wash the glue off the top of the sand. If you under-water, you only harden the top 1/8th inch, creating a ‘bridge’ that will shatter the first time someone walks on it in high heels or moves a patio chair. You need that water to seep down through the entire 2-inch or 60mm depth of the paver.
Check the weather. You need at least 24 hours of dry weather after installation. If it rains three hours after you finish, the polymers haven’t had time to cross-link. They will turn into a white, milky sludge that stains your pavers. I’ve seen guys try to use leaf blowers to dry a patio after a surprise rain; it doesn’t work. The chemistry is compromised. You want the moisture to activate the polyvinyl acetate or similar binders slowly. Think of it like curing concrete rather than drying paint. It’s a chemical reaction, not an evaporation process.
How much polymeric sand do I need for a patio?
Calculating polymeric sand coverage depends on the joint width and paver thickness, but generally, one 50lb bag covers 60-75 square feet for standard interlocking pavers. For wide-joint flagstone, that coverage can drop to 15 square feet per bag. Never guestimate; over-buy by 10% to account for compaction settling. If you run out halfway through, you risk different color batches or, worse, leaving joints open to overnight moisture which ruins the bond.
What is the best temperature to apply polymeric sand?
The ideal application temperature for polymeric sand is between 50°F and 85°F (10°C to 29°C) on a dry surface. High humidity can cause the polymers to become tacky prematurely, making it impossible to sweep the excess off the paver faces. If the pavers are hot to the touch, the water will evaporate before it can penetrate the joint, leading to a weak, crusty surface that will peel away by next spring. Always work in the shade or during the cooler parts of the day for the best chemical set.
Hack 3: Pre-Joint Sterilization and pH Balancing
Before applying polymeric sand, you must treat the aggregate base with a high-pH stabilizer or a pre-emergent herbicide to prevent dormant seeds from germinating in the sub-base soil. While polymeric sand is a barrier, extreme weed pressure from aggressive species like nutsedge can actually punch through weakened joints if the underlying soil is infested. Most contractors ignore the soil chemistry beneath the stone. I don’t. I ensure the modified gravel base is clean and free of organic silt. If you have ‘dirty’ gravel, you have a buffet for weeds.
| Feature | Standard Utility Sand | Premium Polymeric Sand | Liquid Joint Stabilizer |
|---|---|---|---|
| Weed Resistance | None (High Risk) | High (90-95%) | Moderate |
| Flexibility | Low (Washes out) | High (Self-healing) | Very High |
| Installation Time | Fast | Moderate (Drying needed) | Slow (Spray on) |
| 2026 Outlook | Complete Overgrowth | Clean Joints | Minor Erosion |
The ‘hacks’ you see on TikTok about using salt or vinegar are garbage. Salt will effloresce and ruin the color of your stones. Vinegar is too acidic and can break down the cementitious binders in the pavers themselves. If you want a real hack, use a leaf blower on the lowest setting after you sweep but before you water. Hold it at a 45-degree angle. This removes the microscopic dust from the surface of the pavers that the broom misses. If that dust stays there when you add water, it creates a hazy film that is a nightmare to remove. Clean stone, deep sand, perfect water. That is the only way to beat the 2026 weed cycle.
The 2026 Weed-Proof Installation Checklist
- Verify 811 utility markings before any excavation.
- Excavate to a minimum of 6 inches for the modified gravel base.
- Install a non-woven geotextile fabric to separate sub-grade from base.
- Compact the base in 2-inch lifts using a 3000 PSI plate compactor.
- Ensure pavers are bone-dry before opening the first sand bag.
- Vibrate sand into joints until it stops settling.
- Remove all surface dust with a leaf blower before hydrating.
- Apply water in 3 cycles: Mist, Shower, Soak.
Stop looking for shortcuts. Landscaping is a game of inches and percentages. If you skip the compaction, your patio will settle. If you skip the cleaning, your patio will haze. If you skip the quality sand, you’ll be out there in 2026 with a screwdriver scraping weeds out of the cracks like a fool. Do it right once, or don’t do it at all. Your back and your wallet will thank you. Now get to work.
![5 Non-Slip Stone Finishes for Safe 2026 Pool Decks [Tested]](https://lawnmajesty.com/wp-content/uploads/2026/02/5-Non-Slip-Stone-Finishes-for-Safe-2026-Pool-Decks-Tested.jpeg)