Build a $250 Gravel Shed Base That Won’t Shift in 2026
Why Most DIY Shed Foundations Fail Before the First Freeze
A stable gravel shed base requires a 4-to-6-inch depth of compacted 3/4-inch minus crushed stone set over a non-woven geotextile fabric to prevent sinking and rot. This specific engineering approach manages hydrostatic pressure and creates a permeable foundation that survives freeze-thaw cycles without the $2,000 price tag of a concrete slab.
I recently got called out to tear up a $30,000 patio that was sinking because the previous contractor thought he could skip the compaction phase and just ‘let the rain settle it.’ Within two seasons, the pavers looked like a mountain range. The same physics applies to your shed. If you drop a 1,500-pound structure on raw topsoil, the biology of the yard wins every time. Soil is alive; it moves, it breathes, and it holds water. Your job is to kill that movement. We do that with mechanical compaction and aggregate selection. Forget what the guy at the big-box store told you about pea gravel. Pea gravel is round, like marbles. It never locks together. You want crushed, angular stone—specifically something like 21A or CR6. When you hit that with a plate compactor, those jagged edges lock into a rigid matrix that can support thousands of pounds per square foot.
“Proper compaction is the single most important factor in the performance of a pavement or foundation system.” – ICPI Hardscape Manual
How much modified gravel do I need for a 10×12 shed base?
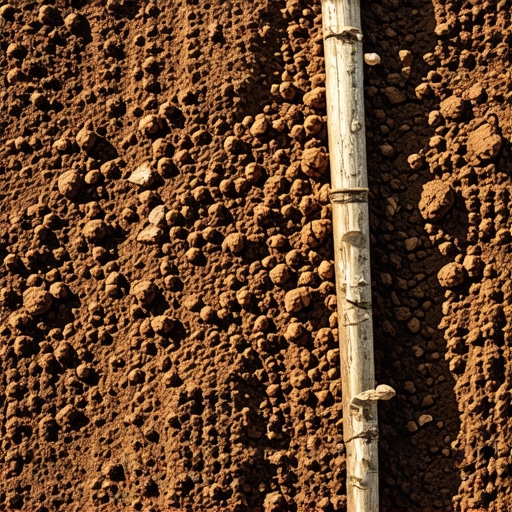
To calculate gravel for a 10×12 shed with a 6-inch base, multiply the square footage (120 sq ft) by the depth in feet (0.5), resulting in 60 cubic feet, then divide by 27 to find that you need approximately 2.22 cubic yards of stone. Always round up by 10% to account for compaction loss. INSERT_IMAGE_HERE
The $250 Budget Breakdown: Professional Materials for DIY Prices
Building a professional-grade base for under $250 is about sourcing from local quarries rather than buying bags of stone from a retail chain. A bag of gravel at a store costs about $5 for a half-cubic foot. A ton at a local quarry? About $30. Use your head. Renting a plate compactor for four hours is the best $60 you will ever spend. Don’t try to use a hand tamper. Your arms will give out long before the soil reaches 95% Proctor density. If the soil isn’t compacted, the gravel is just sitting on a sponge.
| Material Item | Estimated Quantity | Estimated Cost | Why It Matters |
|---|---|---|---|
| 3/4″ Minus Crushed Stone | 3 Tons | $90 – $110 | Provides structural lock-up and drainage. |
| Non-Woven Geotextile | 150 Sq Ft | $35 – $45 | Prevents soil migration into the stone. |
| Pressure Treated 4x4s | 48 Linear Ft | $60 – $80 | Creates the perimeter frame to hold gravel. |
| Timber Screws (6-inch) | 1 Box | $15 – $20 | Structural integrity of the frame. |
The Step-by-Step Excavation and Soil Prep
You must remove the organic layer. This is not optional. Grass and topsoil rot. When organic matter decomposes, it leaves voids. Voids lead to settling. Dig down 6 inches. You should hit subsoil—usually clay or till. If it’s soft, keep digging. Once the hole is clear, roll out your non-woven geotextile fabric. Do not use the cheap plastic ‘weed barrier’ from the garden aisle. That stuff is garbage. You need industrial-strength fabric that allows water through but keeps the mud from pumping up into your clean stone. This is the difference between a 20-year base and a 2-year mud pit.
Can I put a shed directly on the ground?
Putting a shed directly on the ground causes the wood floor joists to absorb ground moisture, leading to fungal decay and structural failure within 3 to 5 years. A gravel base provides the necessary capillary break to keep the wood dry and level. Use pressure-treated lumber for your frame, but ensure it is rated for Ground Contact (UC4A). Most lumber is only ‘Above Ground’ rated. Check the tag. If it’s not UC4A, it will rot in the dirt.
The Installation Process: Layering and Compaction
Fill the frame in 2-inch lifts. If you dump all 6 inches of stone at once, the compactor only hits the top layer. The bottom stays loose. Add two inches of stone, rake it level, and run the plate compactor until the machine literally bounces off the surface. That is the sound of success. Repeat this three times. By the final lift, the base should feel like concrete under your boots. If you can push a screwdriver more than an inch into the stone, it isn’t compacted enough. Do it again. Water the stone slightly while compacting; moisture acts as a lubricant, helping the fines slide into the gaps between the larger rocks.
“Poor drainage around foundations leads to hydrostatic pressure that can shift even heavy structures.” – Penn State Agricultural Extension
- Check for Level: Use a 10-foot straight edge and a 4-foot level.
- 811 Before You Dig: Don’t hit a gas line for a $200 shed.
- Pitch the Perimeter: Ensure the soil around the base slopes away.
- Check Your Specs: Some HOAs require a 4-inch setback.
Maintaining the 20-Year Horizon
Once the shed is on the base, your work isn’t done. Check the perimeter twice a year. If you see ‘fines’ (the dust and small rocks) washing out from under the timbers, your drainage is wrong. Add a splash block under your downspouts. Water is the only enemy that can kill a gravel base. Keep the water moving away, and that shed will stay level until 2046. Don’t skip the maintenance. Don’t be the guy who buys a $5,000 shed and puts it on a $50 pile of dirt. Build it right the first time.
![Repairing 2026 Cracked Concrete Patios [DIY Fix]](https://lawnmajesty.com/wp-content/uploads/2026/06/Repairing-2026-Cracked-Concrete-Patios-DIY-Fix.jpeg)