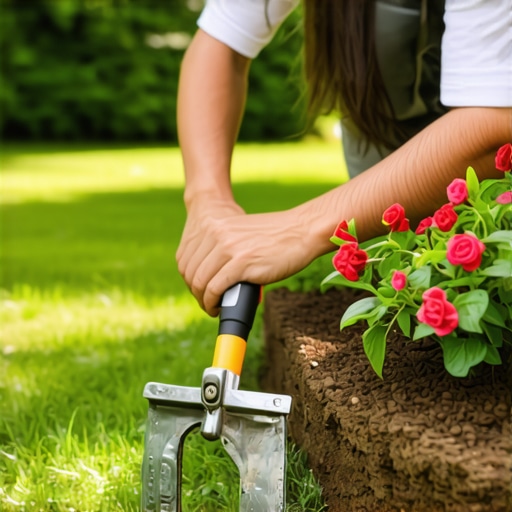
How to Install No-Dig Edging That Actually Works
How to Install No-Dig Edging That Actually Works
Most homeowners buy a roll of cheap plastic edging from a big-box store, hammer in a few plastic stakes, and wonder why the whole mess is heaving out of the ground by the first frost. As someone who has spent two decades remediating failed residential landscapes, I can tell you that ‘no-dig’ does not mean ‘no-effort.’ If you don’t account for lateral pressure and soil expansion, your garden design will look like a salvage yard within six months.
The Engineering Reality of No-Dig Landscape Edging
No-dig edging relies on vertical anchoring and surface friction to resist the lateral force of moving soil and mulch. To make it work, you must eliminate the organic thatch layer, provide a level subgrade, and use high-tensile spikes that penetrate at least 8 to 10 inches into the native soil. Failure to prepare the surface results in the edging ‘floating’ on top of organic debris, leading to immediate structural failure.
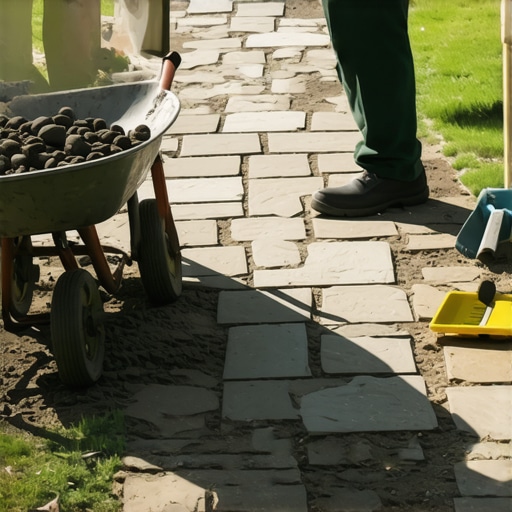
I recently performed a hardscape autopsy on a $30,000 patio and garden installation where the previous contractor used flimsy no-dig plastic. The homeowner called me because their expensive flagstone was migrating into the turf. When I pulled up the edging, it wasn’t even touching the mineral soil; it was sitting on three inches of uncompacted mulch and decaying grass. The hydrostatic pressure from a single heavy rain had pushed the entire perimeter out of alignment. We had to excavate the entire edge, clear the organic rot, and reset it with industrial aluminum. Don’t be that guy. If you don’t fix the base layer first, every component you install is just expensive compost.
“A retaining wall or edging system doesn’t fail because of the material; it fails because of the water and pressure trapped behind it.” – Hardscape Engineering Axiom
The Physics of Frost Heave and Lateral Drift
In regions with freeze-thaw cycles, the soil behaves like a slow-motion hydraulic press. As moisture in the soil freezes, it expands, pushing against any shallow-set object. Standard no-dig kits come with 6-inch plastic stakes. These are worthless. You need 10-inch spiral steel spikes. The spiral shape increases the surface area and creates a mechanical lock within the soil profile, preventing the ‘jack-out’ effect during winter months.
| Material Type | Durability (Years) | Anchor Method | Best Use Case |
|---|---|---|---|
| Industrial Aluminum | 20+ | 10-inch Steel Spikes | High-end garden design, clean curves |
| Recycled Heavy-Duty Plastic | 10-15 | 9-inch Composite Spikes | General lawn care, budget-conscious |
| Thin-Gauge Poly | 1-2 | 6-inch Plastic Stakes | Temporary mulch containment (Not recommended) |
Pre-Installation: Mastering the Subgrade
The secret to a permanent no-dig edge is the complete removal of the turf’s crown and thatch layer to expose the mineral soil. You must create a cleared path that is wider than the edging flange to ensure the material sits flush against the earth, preventing grass rhizomes from creeping underneath. This is where most DIYers fail; they try to pin the edging directly onto the grass.
How do you keep no-dig edging from popping up?
To keep no-dig edging from popping up, you must utilize 10-inch spiral spikes driven at a slight 15-degree angle toward the garden bed. This creates an opposing force against the lateral pressure of the soil. Additionally, the edging flange must be placed on compacted mineral soil, not loose mulch or turf grass, to ensure the friction coefficient remains high enough to resist movement.
- Clear the Line: Use a flat-head spade or a power edger to scalp the grass down to the soil.
- Compact the Path: Use a hand tamper to ensure the soil is firm. Soft soil leads to sinking.
- Check for Roots: Cut any large surface roots that will lift the edging over time.
- Lay the Material: Let the edging sit in the sun for an hour to make it more pliable for curves.
What is the best material for no-dig landscape edging?
The best material for no-dig landscape edging is professional-grade aluminum or high-density polyethylene (HDPE) with a thickness of at least 0.125 inches. Aluminum is superior for hardscaping because it does not rust, resists string trimmer damage, and maintains crisp lines that define the garden design without the bulkiness of cheap plastic products.
The Step-by-Step Professional Installation
Start at the furthest corner of the bed. If you are using aluminum, slide the sections together using the manufacturer’s interlocking tabs. Do not skip the connectors. A broken connection is a weak point where weeds will inevitably penetrate. As you lay the strip, drive a spike into every third hole for straight runs, and every hole for tight curves. Compaction is key. Once the spikes are driven, the edging should not move when kicked. If it wiggles, you haven’t hit solid ground.
“Soil pH and microbial activity can accelerate the degradation of low-quality plastics, making material selection a critical factor in long-term landscape stability.” – Agronomy Manual Section 14.2
Backfilling is the final, most crucial step. You aren’t just hiding the flange; you are buttressing the structure. Pack the garden-side soil or mulch tightly against the edging. On the lawn side, use a mix of screened topsoil and grass seed to ‘lock’ the edging in place. Within two weeks, the grass roots will grow over the flange, creating a biological anchor that is stronger than any stake. It will stay. It won’t budge.
Maintenance and Long-Term Integrity
Check your edges after the first heavy rain. Look for ‘washouts’ or areas where the mulch has bypassed the edging. If the edging has lifted, it means you hit a rock and the spike didn’t seat properly. Pull it, move it two inches, and drive a new one. Don’t leave it. A single loose section will compromise the entire perimeter’s tension. High-quality edging is an investment in your property’s engineering. Treat it like a foundation, not a decoration.