How to Install a Slate Walkway Over a Sand Base
The Hardscape Autopsy: Why Most Slate Walkways Fail Before Year Three
To successfully install a slate walkway over a sand base, you must focus on sub-grade stability and hydrostatic pressure management by excavating at least 8 inches, installing a 4-inch compacted 21A gravel sub-base, and using 1 inch of sharp-angled bedding sand to prevent stone movement.
I recently got called out to tear up a $30,000 patio that was sinking because the previous contractor decided to cut corners by using native topsoil as a base layer. The homeowner was baffled. From the surface, it looked fine for about six months. Then the first freeze-thaw cycle hit. Because they didn’t account for soil expansion or proper drainage, the slate cracked, and the joints became a breeding ground for weeds. This is the reality of ‘mow-and-blow’ hacks trying to do masonry. They don’t understand that a walkway is a civil engineering project on a small scale. If you don’t fix the soil grading and the base compaction first, every piece of expensive slate you put in the ground is just expensive compost. You aren’t just laying stones; you are managing the movement of water and the weight of the earth. Don’t skip the prep work. It will fail.
The Engineering Logic of a Multi-Layered Base
Understanding the physics of a walkway requires looking beneath the surface at the compaction rates and void spaces in your aggregate. Most DIYers think you just throw sand on dirt and call it a day. That is a recipe for a trip to the chiropractor. You need a structural foundation that mimics a road bed. This starts with the sub-grade. If you have heavy clay, you are dealing with a material that holds water and expands like a sponge. In sandy loam, you have better drainage but less structural ‘grip.’ You must adapt. We use 21A or CR-6 modified stone because it contains a mix of 3/4-inch stone down to dust, which locks together under mechanical pressure to create a nearly impenetrable plate.
“A retaining wall doesn’t fail because of the stone; it fails because of the water trapped behind it.” – Hardscape Engineering Axiom
How much modified gravel do I need for a patio base?
Calculating your aggregate needs is a matter of cubic yardage. For a standard 3-foot wide walkway that is 20 feet long with a 4-inch base, you will need approximately 1 cubic yard of modified stone. Always order 10% more for compaction shrinkage. When you run a plate compactor over 4 inches of loose gravel, it will settle into roughly 3.25 inches. You have to account for that loss of volume to maintain your finished grade. We use a 3000-lb centrifugal force plate compactor. The machine should literally bounce off the ground when you’ve hit maximum density. If it’s still sinking, you haven’t reached the Proctor density required for a professional install.
| Material Layer | Thickness | Required Compaction | Function |
|---|---|---|---|
| Sub-Grade Soil | N/A | 95% Proctor | The natural foundation |
| Geotextile Fabric | Thin | N/A | Separates soil from gravel |
| 21A Modified Stone | 4-6 inches | Mechanical Plate | Load-bearing structural layer |
| Concrete Sand (ASTM C33) | 1 inch | Hand Screeded | The leveling bedding layer |
| Slate Flagstone | 1.5-2 inches | Manual Set | The aesthetic wear surface |
Step-by-Step Installation: The Professional Protocol
The process begins with excavation. You need to dig deep enough to accommodate your base layers while ensuring the final stones sit about 1/2 inch above the surrounding turf to prevent water from pooling on the slate. Use a transit level or a simple string line. You need a slope of 1/8 to 1/4 inch per foot away from any structures. Drainage is king. If water sits under your slate, it will freeze, expand, and pop the stones right out of the sand bed.
What is the best sand for a slate walkway?
Never use play sand or masonry sand for the bedding layer. Concrete sand (ASTM C33) is the industry standard because it is ‘sharp’ and angular. Under a microscope, these grains look like jagged rocks, which allows them to lock together. Play sand is rounded by water or wind; it acts like tiny ball bearings. If you use rounded sand, your slate will never stop shifting. You want the sand to grip the underside of the stone. Lay down 1-inch diameter PVC pipes as screed rails. Pour your sand between them and pull a straight 2×4 board across the top. This creates a perfectly flat plane. Do not walk on the sand once it is screeded. If you do, you create a soft spot that will eventually become a low point in your walkway.
“Uniformity in base compaction is the single most critical variable in preventing differential settlement in natural stone pavements.” – ICPI Tech Spec No. 2
The Art of the Slate Layout
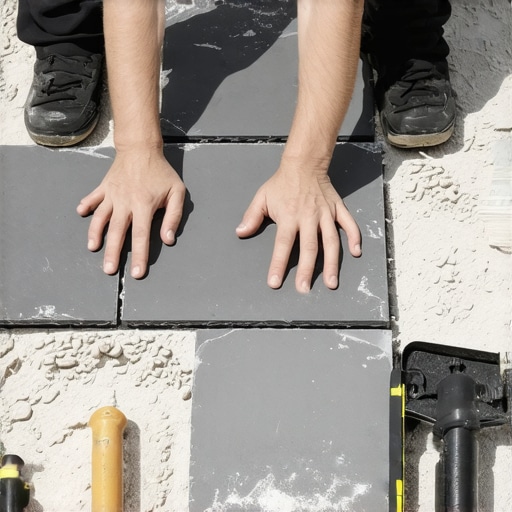
Slate is a metamorphic rock with natural cleavage planes. This means it comes in varying thicknesses. When laying slate, you cannot just drop it and move on. You must ‘butter’ the underside if there are deep depressions, or hand-tamp each stone with a dead-blow rubber mallet. Start with your largest, heaviest stones at the entries and turns. These act as anchors. Use smaller pieces to fill the gaps, but avoid ‘postage stamp’ pieces smaller than 6 inches, as they lack the mass to stay seated in a sand base. Maintain a joint width of 1/2 to 1 inch. Any wider and the joint filler will eventually wash out, regardless of the quality.
- Check for Root Flares: If you are digging near large trees, do not cut roots larger than 2 inches. Hand-dig to avoid structural damage to the tree.
- 811 Call: Always call for utility marking. A slate walkway isn’t worth a severed gas line.
- Edge Restraints: Use heavy-duty plastic or aluminum edging secured with 10-inch steel spikes every 12 inches. This prevents the lateral ‘creep’ of the sand and stones.
- Polymeric Sand: Use a high-polymeric sand specifically rated for natural stone and wide joints. Sweep it in dry, vibrate the stones to settle the dust, and mist it lightly. It turns into a flexible ‘glue’ that thwarts weeds and ants.
Maintenance and Year-One Expectations
Expect some settling. No matter how well you compact, the earth moves. In the first year, you might notice one or two stones that have a slight wobble. This is usually due to ‘bridging,’ where the stone is resting on a high point of the gravel rather than the sand bed. Simply lift the stone, add a handful of sand to the low spot, and reset it. Keep an eye on your polymeric joints. If you see cracks, top them off immediately. Water infiltration is the enemy. Once water gets under the slate and reaches the sand, it can create ‘pumping,’ where the weight of a person walking forces wet sand up through the joints. It is messy and indicates a failure of the base drainage. Keep it dry, keep it tight, and that walkway will outlast your mortgage.
![Build a $1000 2026 Flagstone Patio [DIY Step-by-Step]](https://lawnmajesty.com/wp-content/uploads/2026/05/Build-a-1000-2026-Flagstone-Patio-DIY-Step-by-Step.jpeg)