
![Fixing 2026 Uneven Paver Walkways [Step-by-Step]](https://lawnmajesty.com/wp-content/uploads/2026/06/Fixing-2026-Uneven-Paver-Walkways-Step-by-Step.jpeg)
Fixing 2026 Uneven Paver Walkways [Step-by-Step]
The Anatomy of a Failed Walkway
Fixing uneven paver walkways requires total excavation of the failure zone, addressing subgrade compaction, and installing a geotextile barrier beneath a 4-inch minimum base of modified stone. Simply lifting the stone and adding sand is a temporary fix that ignores the underlying drainage and structural deficiencies that cause pavers to shift, sink, or heave during freeze-thaw cycles. Do not take shortcuts. Your sub-base is the only thing standing between a professional finish and a tripping hazard.
I recently got called out to tear up a $30,000 patio that was sinking because the previous contractor used stone dust as a base material instead of a properly graded aggregate. Within two seasons, the stone dust had washed out into the surrounding clay soil, leaving the pavers unsupported. The homeowner was looking at a total loss. I had to explain that while the stones looked fine on the surface, the engineering beneath them was nonexistent. We spent four days just excavating the mess and hauling away several tons of sludge that should have been crushed limestone. This is the reality of hiring the lowest bidder who doesn’t understand soil mechanics. It is expensive to do it right, but it is twice as expensive to do it twice.
“A retaining wall doesn’t fail because of the stone; it fails because of the water trapped behind it.” – Hardscape Engineering Axiom
Why Pavers Fail: The Forensic Diagnosis
When you see a walkway that looks like a topographical map of the Swiss Alps, you are looking at a failure of hydrostatic pressure management or soil compaction. In 90% of cases, the installer failed to reach 95% Standard Proctor Density during the subgrade preparation. If the soil beneath the walkway is not compacted to the point where it can no longer be compressed, the weight of the pavers and the foot traffic above will eventually force the soil particles closer together, creating a depression. This is compounded by the capillary action of water. When water gets trapped in a non-porous base like stone dust, it freezes, expands, and pushes the stones upward. When it melts, it leaves a void, and the stone sinks further than it started. It is a cycle of destruction. You must break this cycle by using the right materials.
| Material Type | Drainage Rating | Compaction Strength | Best Use Case |
|---|---|---|---|
| *Note: Never use stone dust for structural load-bearing walkways. | |||
| 3/4-inch Modified (21A) | Moderate | Extreme | Structural base for all walkways |
| ASTM C33 Concrete Sand | High | N/A (Bedding) | 1-inch leveling layer only |
| #57 Clean Stone | Maximum | Moderate | Sub-base drainage in wet areas |
| Stone Dust | Zero | Low | Non-structural decorative paths only |
How much modified gravel do I need for a patio base?
To calculate the required modified gravel, multiply the square footage of your walkway by the depth of the base (minimum 4 inches for foot traffic, 6 inches for clay soils) and divide by 324 to get the total cubic yardage needed. For a standard 100-square-foot walkway with a 4-inch base, you need approximately 1.25 cubic yards of material. Always order 10% extra to account for compaction loss. When you run a 2,000 PSI plate compactor over your stone, the volume will decrease as air gaps are eliminated. If you don’t have extra on hand, you will end up with a shallow base that cannot support the load. Don’t eyeball it. Use a calculator and a transit level. Precise measurements are the difference between a walkway that lasts 30 years and one that fails in three.
The Step-by-Step Remediation Process
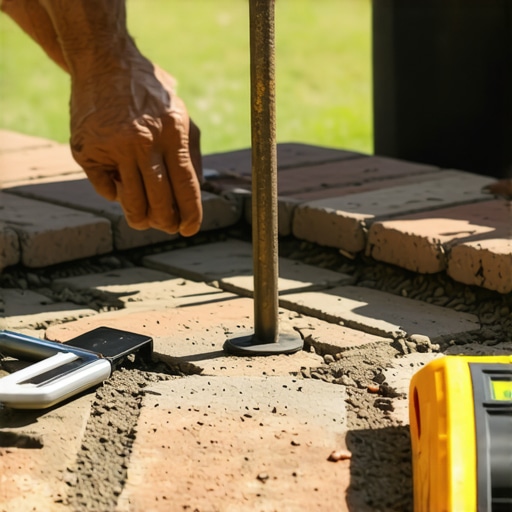
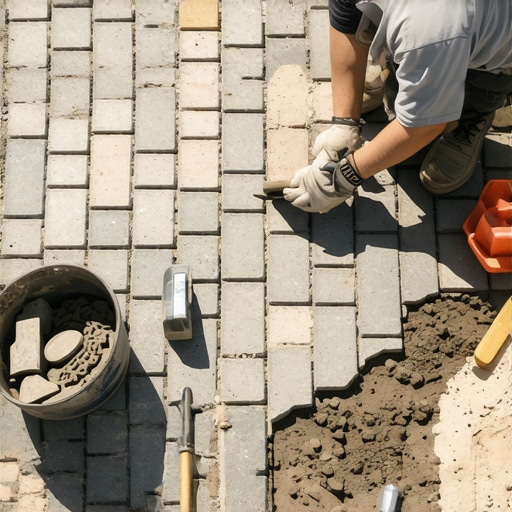
First, remove the affected pavers and stack them nearby. Do not lose your pattern. Once the pavers are out, you need to dig. You are looking for the subgrade. If you find organic matter, roots, or soft “spongy” soil, keep digging. You must reach virgin soil or a highly compacted mineral layer. It will be hard work. Don’t skip it. Once you have a clean trench, lay down a non-woven geotextile fabric. This fabric acts as a separation layer, preventing your expensive gravel from migrating into the soil. Without this, your base will eventually vanish into the earth.
- Excavation: Dig to a depth of 7-8 inches (4″ base + 1″ sand + 2-3″ paver).
- Compaction: Use a vibratory plate compactor on the raw soil first.
- Base Install: Add 21A modified stone in 2-inch “lifts.” Compact each lift until the machine bounces off the surface.
- Bedding: Screed 1 inch of washed concrete sand. Do not compact the sand yet.
- Resetting: Place pavers, use a string line for straightness, and use a dead-blow hammer to set.
- Jointing: Sweep in high-quality polymeric sand and perform a final vibration.
Why is my paver walkway sinking after rain?
If your walkway sinks specifically after heavy rain, you have a sub-surface drainage issue. Water is likely pooling under the pavers because the base material is not allowing it to dissipate into the water table. This often happens in areas with heavy clay soils. In these environments, you need to install a French drain or a perforated pipe adjacent to the walkway to whisk water away from the base. Water is the universal solvent; it will eventually undermine even the best-laid stone if it has nowhere to go. You should also check your pitch. A walkway should slope away from the house at a rate of 1/4 inch per linear foot. If it’s flat, you’re building a pond, not a path. It will rot the sub-base and eventually the pavers themselves.
“Standard specifications for paver installation require a minimum 95% compaction of the sub-base to prevent localized shear failure.” – ICPI Tech Manual
The Importance of Edge Restraints
A walkway doesn’t just sink; it spreads. Without lateral restraint, the pavers will migrate outward into the lawn, opening up gaps in the joints. Once the joints open, water enters the base, and the entire system collapses. Use heavy-duty plastic or aluminum edge restraints secured with 10-inch steel spikes every 12 inches. Do not use “concrete toes” or globbed-on mortar; they crack within one winter cycle. Proper edging keeps the interlock tight. Interlock is the magic of paver systems—the friction between the sand and the stone creates a unified “slab” that can support incredible weight while remaining flexible. If you lose the edge, you lose the interlock. It is that simple. Spend the money on the spikes.
Final Maintenance and 2026 Standards
By 2026, we expect to see even more advanced polymeric binders in jointing sands. These are not the messy sands of the past. When applying, ensure the pavers are bone dry. Any moisture during the sweeping process will activate the polymers and stain the surface of your stones. Once swept, use a leaf blower to remove all dust from the surface before misting with water. You aren’t watering a garden; you are activating a chemical bond. Mist it lightly three times, waiting 10 minutes between each pass. This creates a hard, flexible joint that resists weeds and ants. It is the final seal on your engineering project. Check your joints every two years. If the sand levels drop, top them off. A small investment in sand prevents a massive investment in another repair. Stay diligent. Your back and your wallet will thank you.
![Fix Sinking Pavers with This $40 Poly-Sand Trick [2026 DIY]](https://lawnmajesty.com/wp-content/uploads/2026/05/Fix-Sinking-Pavers-with-This-40-Poly-Sand-Trick-2026-DIY.jpeg)