The Hardscape Autopsy: Why Most Dry-Set Paths Fail
I recently got called out to tear up a $30,000 patio that was sinking because the previous contractor thought 2 inches of paver sand was a ‘solid base.’ It wasn’t. The hydrostatic pressure from a poorly managed water table turned that expensive flagstone into a jagged, tripping hazard within two seasons. Most ‘mow-and-blow’ hacks ignore the physics of soil compaction and capillary action, leading to total structural failure. In the 2026 landscaping landscape, we don’t rely on rigid, brittle concrete slabs that crack during the first deep freeze; we build flexible, engineered systems that breathe with the earth.
Why Skip the Concrete Base?
Building a flagstone path without a concrete slab—often called a dry-set method—allows for permeability and natural freeze-thaw cycle movement without catastrophic cracking. By using geotextile fabrics and modified gravel bases, you create a path that handles 4,000 PSI of vertical pressure while allowing 10 inches of rain per hour to drain back into the aquifer. It is biology and engineering working together. Don’t let a salesman tell you concrete is the only ‘permanent’ solution. It’s often just a future demolition project.
“A retaining wall doesn’t fail because of the stone; it fails because of the water trapped behind it.” – Hardscape Engineering Axiom
The Science of Site Excavation and Soil Grading
To lay a flagstone path that lasts 30 years, you must excavate the subgrade to a depth of at least 8 to 10 inches to accommodate ASTM D1241 aggregates. This process removes the organic horizon (topsoil), which is spongy and prone to decomposition, ensuring your stones rest on a stable, inorganic mineral layer. Do not skip this step. If you build on top of grass or uncompacted dirt, your path will fail in months. Period.
How deep should I dig for a flagstone path?
For a standard pedestrian flagstone walkway, you must dig 8 inches deep: 4 inches for #21A modified gravel, 1 inch for bedding sand, and 2 to 3 inches for the flagstone thickness itself. This depth ensures the frost heave doesn’t displace individual stones. In heavy clay soils, increase the gravel base to 6 inches to improve lateral drainage. Use a plate compactor—not a hand tamper—to reach 95% Proctor density. Anything less is just a sandbox.
| Material Layer | Required Thickness | Function | Compaction Requirement |
|---|---|---|---|
| Sub-base Soil | Varies | Load-bearing foundation | Scarify and compact |
| Geotextile Fabric | N/A | Separates soil from gravel | Overlap 12 inches |
| #21A Modified Gravel | 4-6 inches | Structural stability/drainage | 95% Standard Proctor |
| Coarse Bedding Sand | 1 inch | Leveling course for stones | Do not pre-compact |
| Natural Flagstone | 2-3 inches | Wear surface/Aesthetics | Set with dead-blow hammer |
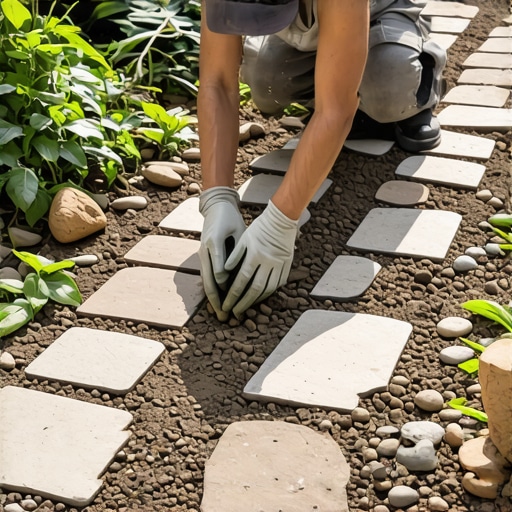
The Engineering of the Base Layer
The base layer is the invisible engine of your hardscape, utilizing interlocking angular aggregates to distribute weight across the subgrade. Unlike rounded river rocks, crushed stone or crushed run features jagged edges that lock together under 3,000 lbs of centrifugal force from a gas-powered compactor. This creates a bridge-like structure. If the base isn’t solid, the stone will rock. If the stone rocks, the joints will fail. Use a 1-inch screed pipe to ensure your bedding sand is perfectly level before the first stone touches the ground.
“Successful hardscaping relies on 90 percent preparation and 10 percent installation; the base determines the lifespan of the stone.” – ICPI Technical Manual
How much modified gravel do I need for a patio base?
To calculate gravel volume, multiply your path’s square footage by the desired depth in feet (e.g., 0.33 feet for 4 inches), then divide by 27 to get cubic yards. Always order 10% extra for compaction loss. For a 100-square-foot path at 4 inches deep, you need approximately 1.5 cubic yards of CR6 or 3/4-inch minus stone. Don’t buy bags from a big-box store; get a bulk delivery from a reputable quarry to ensure consistent gradation.
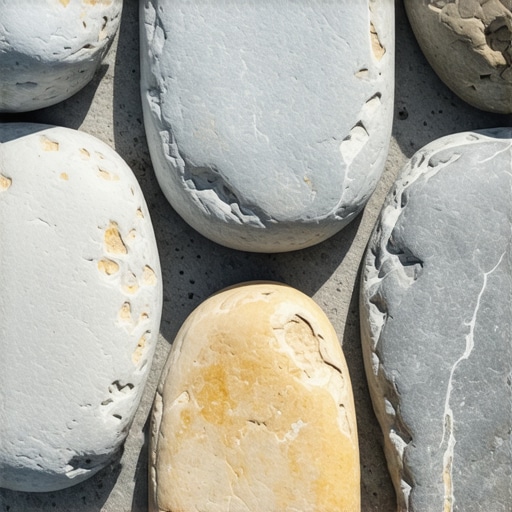
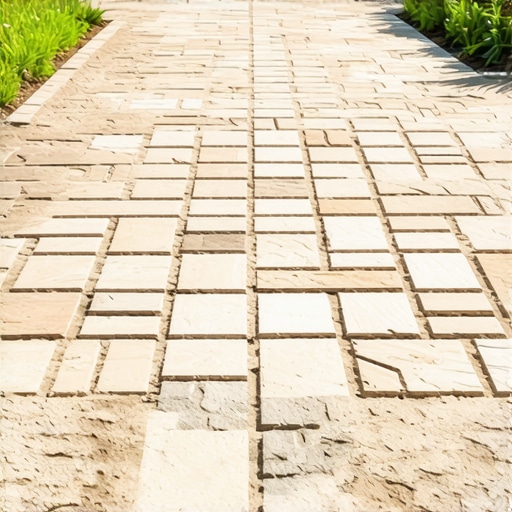
Selecting Flagstone and Setting the Pattern
When selecting flagstone, prioritize density and low absorption rates to prevent spalling during winter months. Pennsylvania Blue Stone, Tennessee Quartzite, or local granite flagging are superior to soft sandstones that crumble under foot traffic. Aim for stones that are 2 inches thick. Thin stones crack under point-load stress. Lay them out like a puzzle, keeping joint widths between 1/2 inch and 2 inches for maximum stability. Avoid ‘four-corners’ joints where four stones meet at one point; these are structural weak spots.
- Check for Girdling: Ensure stones are not ‘bridging’—resting on two high points with a hollow center.
- Pitch the Grade: Always slope the path away from house foundations at a 2% grade (1/4 inch per foot).
- Edge Restraints: Use heavy-duty plastic or aluminum edging to prevent lateral migration of the stones.
- Leveling: Use a 4-foot level to check for tripping hazards (lips) exceeding 1/4 inch.
What is the best sand for flagstone joints?
In 2026, polymeric sand remains the gold standard for dry-set flagstone because its high-polymer content binds the stones together while remaining flexible. Unlike regular sand, it resists weed germination and ant hills. However, for a more ‘garden’ look, you can use stone dust or decomposed granite, though these require more maintenance and are prone to washout in heavy storms. If you use polymeric, follow the manufacturer’s moisture-activation steps perfectly or you will end up with a hazy, white film on your stones.
Maintenance and the One-Year Settle
Your path is a living structure that will undergo a settling period during its first full cycle of seasons. Expect minor sand depletion in the joints as the base settles into its final equilibrium. In the spring, inspect for any stones that have developed a ‘wobble’ and shim them with a handful of extra bedding sand. Do not use de-icing salts on natural stone; the chemical reaction causes sub-fluorescence, which destroys the stone’s internal structure from the inside out. Use sand for traction instead. It works. It’s cheaper. It won’t kill your soil microbiology.

![Build a $600 Paver Walkway in 48 Hours [2026 DIY]](https://lawnmajesty.com/wp-content/uploads/2026/04/Build-a-600-Paver-Walkway-in-48-Hours-2026-DIY-1.jpeg)
![Stop Paver Sinking: 5 New 2026 Sub-Base Tactics [Tested]](https://lawnmajesty.com/wp-content/uploads/2026/03/Stop-Paver-Sinking-5-New-2026-Sub-Base-Tactics-Tested.jpeg)