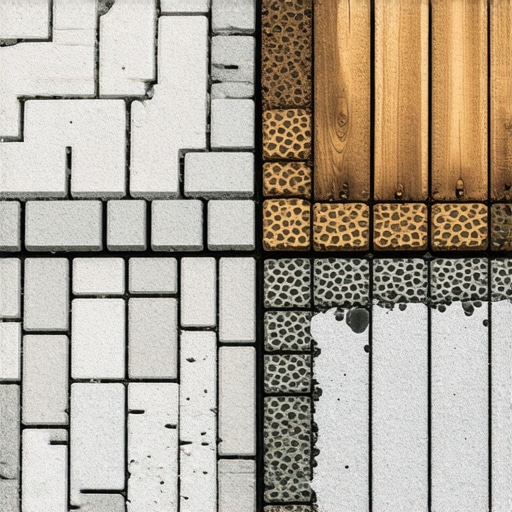
![Build a $600 Paver Walkway in 48 Hours [2026 DIY]](https://lawnmajesty.com/wp-content/uploads/2026/04/Build-a-600-Paver-Walkway-in-48-Hours-2026-DIY.jpeg)
The Reality of Professional-Grade Walkways on a Budget
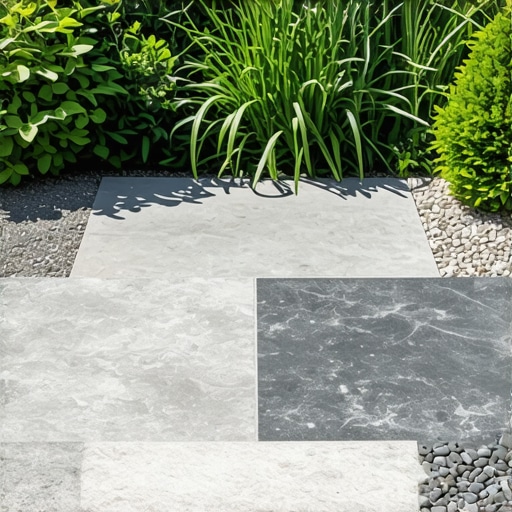
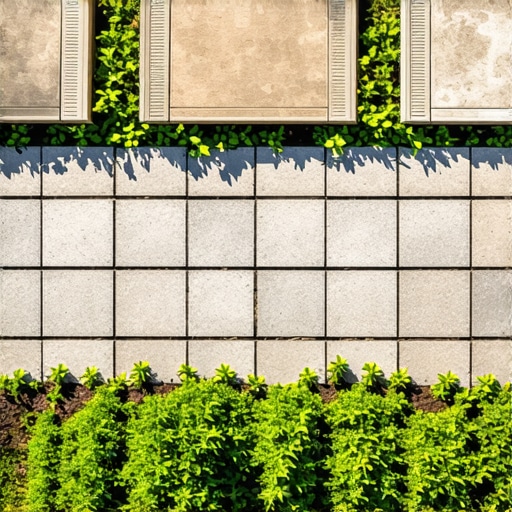
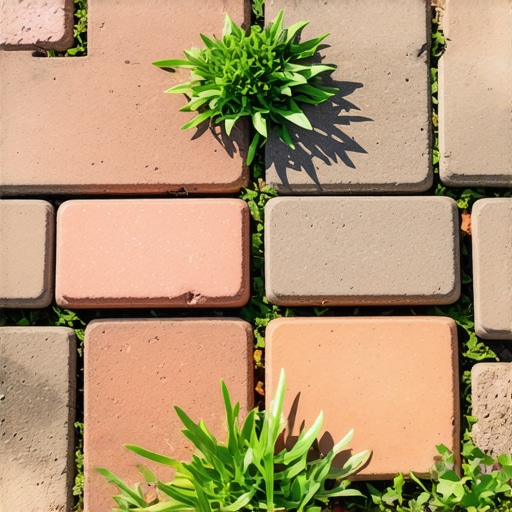
Building a $600 paver walkway requires strict adherence to excavation depth, compacted aggregate bases, and polymeric sand joints to ensure longevity. By focusing on sub-grade preparation over expensive aesthetic finishes, DIYers can achieve professional-grade hardscaping within a tight 48-hour window without compromising structural integrity.
I recently got called out to tear up a $30,000 patio that was sinking because the previous contractor failed to recognize the difference between structural fill and topsoil. The entire bluestone surface looked like a rolling sea after just two winters. Why? Because they skipped the geotextile fabric and didn’t hit 95% Proctor density on the base compaction. The soil eventually migrated into the gravel, the voids collapsed, and $30k of material became a tripping hazard. If you think your $600 project doesn’t need that same engineering logic, you are wrong. It will fail. You have 48 hours to do this right, or you’re just throwing money into a hole. Landscaping isn’t about the pavers; it’s about the physics of the earth beneath them.
“A retaining wall or walkway doesn’t fail because of the stone; it fails because of the water trapped behind or beneath it.” – Hardscape Engineering Axiom
How much modified gravel do I need for a patio base?
Calculating your aggregate volume is the difference between a stable path and a muddy mess. For a 50-square-foot walkway, you need approximately 1.5 tons of 2A modified crushed stone to reach a 4-inch compacted depth. This depth is non-negotiable for load-bearing stability and hydrostatic pressure relief.
Phase 1: Excavation and Soil Physics
Proper excavation depth for a walkway involves removing exactly 7 to 8 inches of soil to accommodate sub-base aggregate, bedding sand, and the paver thickness. This ensures the finished surface sits slightly above the surrounding grade to prevent water ponding and ice heaving during freeze-thaw cycles.
Most DIYers use a shovel and a prayer. Professionals use a transit level. You need to ensure a 2% slope away from your foundation. That is a 1/4-inch drop for every foot of run. If you slope toward the house, you aren’t a landscaper; you’re a basement-flooding specialist. Dig deeper than you think. Use a flat-bottomed shovel to keep the subgrade clean. If you hit organic matter or roots, keep digging. Spongy soil is the enemy. It will rot. It will settle. Your walkway will follow it down.
| Material | Quantity (50 sq ft) | Estimated Cost | Purpose |
|---|---|---|---|
| 2A Modified Stone | 1.5 Tons | $65 – $90 | Structural Base |
| Concrete Sand | 0.5 Tons | $40 – $60 | Leveling Bed |
| Standard Pavers | 200 Units | $350 – $400 | Traffic Surface |
| Polymeric Sand | 2 Bags | $60 – $80 | Joint Stabilization |
| Edge Restraints | 10 Pieces | $50 – $70 | Lateral Support |
Phase 2: The Aggregate Foundation (The Real Work)
Installing the aggregate foundation involves laying crushed limestone in 2-inch increments and using a plate compactor to eliminate air pockets and lock the stones together. This creates a load-distributing crust that prevents the individual pavers from shifting under pedestrian traffic or soil movement.
Do not use pea gravel. Pea gravel is round; it acts like ball bearings. You need angular stone. When you hit it with a compactor, those angles lock. We call this interlocking friction. Pour 2 inches, soak it with water to lubricate the particles, and run the compactor until the machine literally bounces off the surface. Repeat until you have 4 inches of rock-hard base. This is where your 48-hour clock gets tested. Don’t rush the tamper. Use a vibratory plate compactor. A hand tamper is a joke for anything over 10 square feet. Your hands will blister, and your base will be soft. Use the right tool.
“Base thickness must be increased in areas with poorly drained soils or high frost potential to prevent vertical displacement.” – ICPI Tech Spec No. 2
Is polymeric sand better than regular sand?
Using polymeric sand is essential for modern hardscape design because the specialized polymers harden upon contact with water, creating a flexible but durable bond. This prevents weed growth, ant infestations, and joint erosion that typically destroys DIY projects within the first twelve months.
Phase 3: Screeding and Bedding Sand
The screeding process involves placing 1-inch screed pipes on the compacted base and pulling a straight board across them to create a perfectly flat sand bed. This layer must remain uncompacted until the pavers are set, allowing the stones to seat properly during the final mechanical vibration.
Use C33 washed concrete sand. Do not use play sand; it is too fine and will wash away. Lay your pipes. Pour the sand. Screed it flat. Then, walk away. Do not step on the sand. If you step on it, you’ve created a point of high density that will show up as a bump in your finished walkway. If a cat walks across it, fix the footprints. Precision here saves hours of lifting and resetting pavers later. This is 40% of the job’s visual quality.
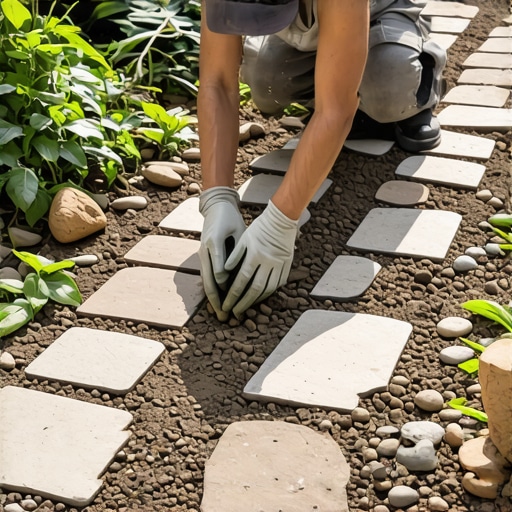
Phase 4: Setting Pavers and Edge Restraints
Setting concrete pavers requires a string line for alignment and the immediate installation of edge restraints to prevent lateral migration of the units. Each stone should be dropped straight down onto the bedding sand to avoid disturbing the leveled surface before the final compaction pass.
- Check your lines: Every 4 feet, measure back to your starting point to ensure the pattern isn’t “running” or curving.
- Snap a chalk line: If you are doing a 45-degree herringbone, a chalk line on the sand bed is your only hope.
- Install spikes: Edge restraints need a 10-inch steel spike every 12 inches. Do not skimp. The edges are the first part to fail.
- Gap width: Maintain a 1/8-inch gap for the sand. Tight joints mean the pavers will rub and chip.
Phase 5: The Final Lock-In
The final lock-in phase involves sweeping polymeric sand into the dry joints and using a vibratory plate with a protective mat to settle the pavers into the sand bed. This process ensures the sand migrates to the bottom of the joint, creating a monolithic structure that resists shifting.
This is where the magic happens. After you sweep the sand, blow off the excess. Any residue left on the surface will stain the pavers with polymeric haze. It is permanent. Use a leaf blower on low. Then, mist it with water. Not a jet stream. A mist. You want to activate the glue, not wash it out of the cracks. Let it dry for 24 hours. Keep the kids and dogs off it. By the 48-hour mark, you can walk on it. It’s a solid stone carpet. Your $600 just bought you a decade of stability.